Showing posts with label sketchup. Show all posts

Thursday, August 1, 2013

Using Sketchup to Design Game Models

Disclaimer: I'm not an industry veteran or 3d instructor. I'm merely sharing my set of experiences to anyone who is interested.

Purpose: I've been noticing a distinct pattern of misinformation and plain bias related to using Sketchup to produce game assets, specifically towards Unity (as that is the engine I've currently been developing on). The greatest cause for this happens to be the lack of any good information relating to how Sketchup works and what it can actually produce. Because it's designed primarily as an architectural tool, not generic 3d modeling platform, most of the Sketchup veterans have no interest in game design. Likewise, most game design veterans are loath to use a program that is not 3ds Max or Maya.

I've decided to attempt to dispel many of the rumors and clear up misinformation surrounding the use of Sketchup for game design. This paper, if you can call it that, is broken up into 3 sections - comparison, usage, and conclusion. Hopefully you, as a reader, can walk away from this with a tad more understanding of how Sketchup fits in the game development process. Bear in mind that Sketchup is not an all inclusive tool, not by any stretch of the imagination. Even if you do decide to use it, you'll need additional tools.

Comparison

Lets begin by outlining the basic characteristics of Sketchup:

Easy to learn.
Excellent for hard surface modelling.
Non-alpha texturing.
Component design and manipulation.
Generally spline based modeling.
Automatic Topology management.
Free*.
Extensive Plugins.
Poor organic modelling.
No advanced tools (UV wrapping, rigging, poly painting, etc)
Exports to Collada*.
No manual Topology editing.

If you're new to 3d modelling, you're probably wondering what all that means, so lets go over it briefly.

Hard Surface vs Organic Modelling: Imagine in one hand you have a rubik's cube and in the other you have an apple. Now, at first glance these are both "hard surface" objects. But when we discuss hard surface and organic in 3d modelling, we are referring to the complexity of the geometrical shape - or how many curves are on a surface. In the case of the rubik's cube, it's completely flat along each side. Even if we were to turn one of the sections, it would still be composed of entirely straight edges. The apple, on the other hand, is not even symmetrical. It is oblong and mostly rounded, but also curves in at the top and bottom. It has small dimples and imperfections that cause the surface to be rough.

However, do not mistake organic for explicitly meaning only biological entities. Consider a modern car and and a cyborg from the Terminator series. Both are inorganic - that is, they're just machines. But the terminator is still an organic model, with all the complexities of a human skeleton.

This is organic:

This is hard surface:

Sketchup is capable of creating organic models, and there are plugins to make this much easier. It is far simpler, however, to limit any type of organic modeling you do with Sketchup to a minimum, as you're trying to reinvent the wheel at that point. It is much more expedient to use a program like zBrush that was designed specifically for creating very detailed organic models in little time.

Texturing: Sketchup uses a very primitive surface texturing system that applies a single layer to a single, continuous surface. This means you can't brush in fading paint or specific detailing. The following image shows how Sketchup divides a surface based on lines. These lines denote what is a continuous surface. As you can see, it's impossible to bleed one texture into another for any kind of fading effect.


This entire object is a single surface with arbitrary lines placed on it. Note how the texture simply stops at the line. There are plugins to convert surfaces to quads and perform primitive unwrapping, but they are spotty at best, and highly unreliable. As a general rule, you will want to use another program, such as 3ds max, blender, or zBrush if you want to create a high quality texture for the model. Sketchup is also incapable of adding additional alpha textures, so you can't do bullet holes and blood splatters as decals.

Component Design: The strongest part of Sketchup is its component system. Starting with nuts and bolts, it is possible to design an entire component hierarchy where every part of a car is quickly and efficiently reusable. And this transfers between projects. An artist designing motors on his machine can export them as components for separate artists to bolt onto frames, who can then export those components to the body designer. Because all of these parts are reusable and rapidly re-sizeable, artists can produce buckets of interchangeable parts.

When a component is edited, it updates all instances of that component in the scene, reducing the time it takes to fix mistakes. Finally, it allows for extremely fast prototyping. A group of artists can collaborate, sharing components to snap together mockups of different objects and generate scenes with very little time or effort.

Topology Management: Sketchup automatically manages all the topology in a model. This is both good and bad. Topology in Sketchup is almost always clean by default, even when doing some pretty weird things. But in the even that you want to manually adjust the topology, you're out of luck. However, given the nature of Sketchup, this shouldn't be an issue. Your geometry should remain fairly basic, as will be outlined in the next section. A good thing to remember is that Sketchup is purposely simple. You shouldn't be doing anything too complex with it.

Plugins: The final, and possibly most important, characteristic of Sketchup is its robust plugin system. There are a considerable number of plugins that make modeling easier. The vast majority of these plugins are produced by the community, generally free and regularly updated. Keep in mind though, these plugins may become abandoned at any time, and therefore cease to function as intended.

*There is a professional version of Sketchup that costs money, but includes the ability to export to .obj and .stl natively.

Usage

Now that we're a bit more familiar with Sketchup, lets look at how it works in practice.This won't be a comprehensive tutorial, but should serve as some basic guidelines for using Sketchup and Unity.

Getting a Model Into Unity: I don't recommend using Sketchup for conventional game models. You can't control their level of detail (LoD), you would still need a 3d modeling suite to rig and animate them, and they will have only basic texturing. However, that said, they are excellent for terrain, mockups, and any game that doesn't require animations.

You can, for example, make item drops, along with their inventory icons rather quickly. Make a basic item (remember, we're looking for hard surface models that we can make very quickly). This sword took me only a couple of minutes to model:


Note that it's untextured and rather bland. From here, you can open photoshop or gimp and make yourself some basic texture sets. Because this is a sword, I made mostly metal textures to apply. Then, open the Materials section of Sketchup (it's the paint bucket in the tool bar) and click the new material button (the + in the upper right corner). From here, just add the texture you made and name the material:


Then apply the materials to your object. Here, I applied the textures and separated out the components so you can see how I could quickly make custom blades, cross guards, grips, and pommels for a huge variety of swords:


Here is the interesting part - if you were to export the model without doing any coloring or texturing, every surface appears as its own object in unity. This makes the model both unusable and highly unwieldy. Thus, if you are going to use any model made in Sketchup (no matter how you export it) you must apply some color to it, even if it's white.This defines the object groups and makes it manageable.

Also, make certain your item is as close to the center of the axis as you can possibly make it. Otherwise, Unity will not be able to rotate it properly. Keep in mind that blue is "up" when imported in Unity. This means that all 3 colors should intersect in the middle of the object, and blue should come out of the top:


Now, at this point you have two options:

1) Get an obj exporter plugin.
2) Use the native .dae or .obj exporter (depending on whether you have the free or pro version respectively).

I personally use the .obj exporter at the moment because it spits out the textures in a usable folder as well. But again, it's not necessary as you can just as easily create the Unity materials from your existing texture files.

Using GIMP or photoshop, you can also create a sprite sheet:


You're not quite done yet if you want to use this to quickly generate icons. If you're interested in doing this, I have a decent write up for it here. Otherwise, drag and drop your object into your Unity project and follow the usual steps to texture it (make a material for each texture and apply it). From here you can throw together a lot of prefabs:
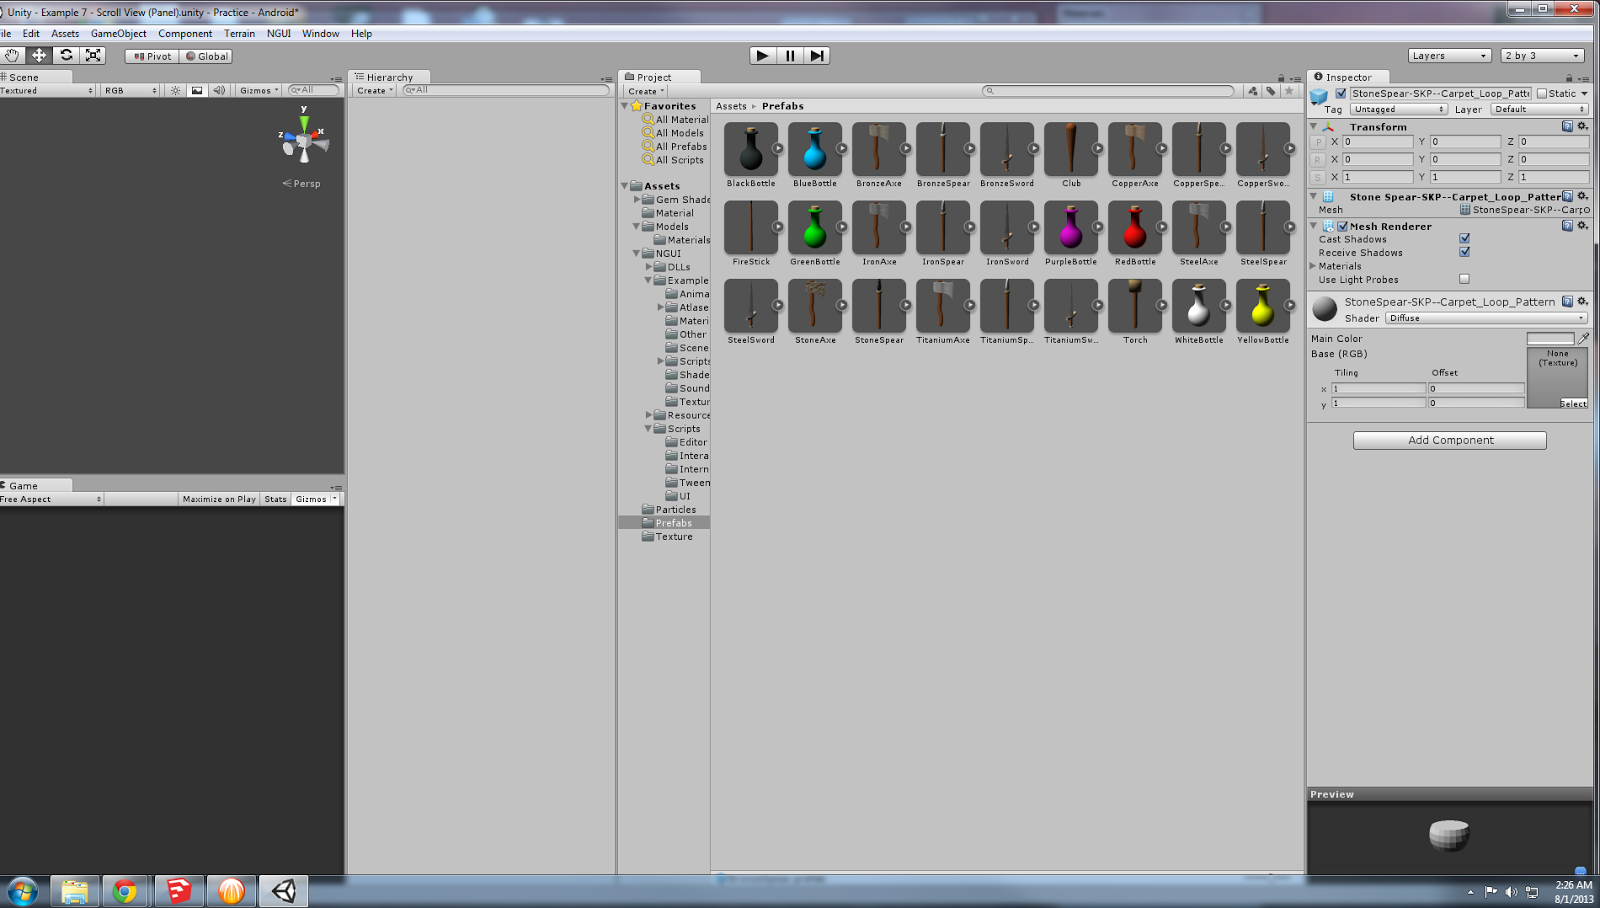


Now, for the million dollar question - are these items legit? As in, can they be used just like any other swords in a game? Yes! In fact, here is a tech demo that features models made and textured in Sketchup. Keep in mind, it's just a tech demo and very, very far from a polished game.

Conclusion

This outlines exactly how it is possibly to rapidly produce models, either as mockups or finished products, for your game using Sketchup. A professional studio may find fewer uses for Sketchup, but many studios do actively use it as part of their design pipeline. Indie developers can make even better use out of this free tool, rapidly creating background and environmental assets that don't require a great deal of detailed textures or animations, or by importing it into blender for texturing (as Sketchup is far easier to create the base model with). 

It's also possible to use Sketchup to design your primary art assets if they don't contain animations. Tanks, helicopters, star fighters, even spaceships are all easy to design, texture, and plug into a game without any kind of budget. Indeed, the ease of use makes it excellent for new developers to begin with, and prevents them from launching into a game that will simply be too complex (IE, prevents them from embarking on yet another MMO) by forcing them to choose a much more simple game.

Sketchup isn't without its drawbacks, but any tool that works is a tool worth having, especially if its free. 


Thursday, December 6, 2012

Livestream Online!

About to enter a livestream (5 minutes). You're welcome to come by and watch here.

I'll be working on stuff for the Mercpedia android app for the most part, but I might deviate a little bit. I also plan on doing this for quite a few hours (probably all day) with a couple of breaks in between.

Come check it out! :)

Monday, December 3, 2012

3D to 2D art tutorial


This is a quick tutorial on how to make 2d art assets, such as icons, from 3d objects. For this tutorial, I will be using Sketchup and GIMP. Both of these programs are free and available on multiple operating systems, so anyone is able to get started.

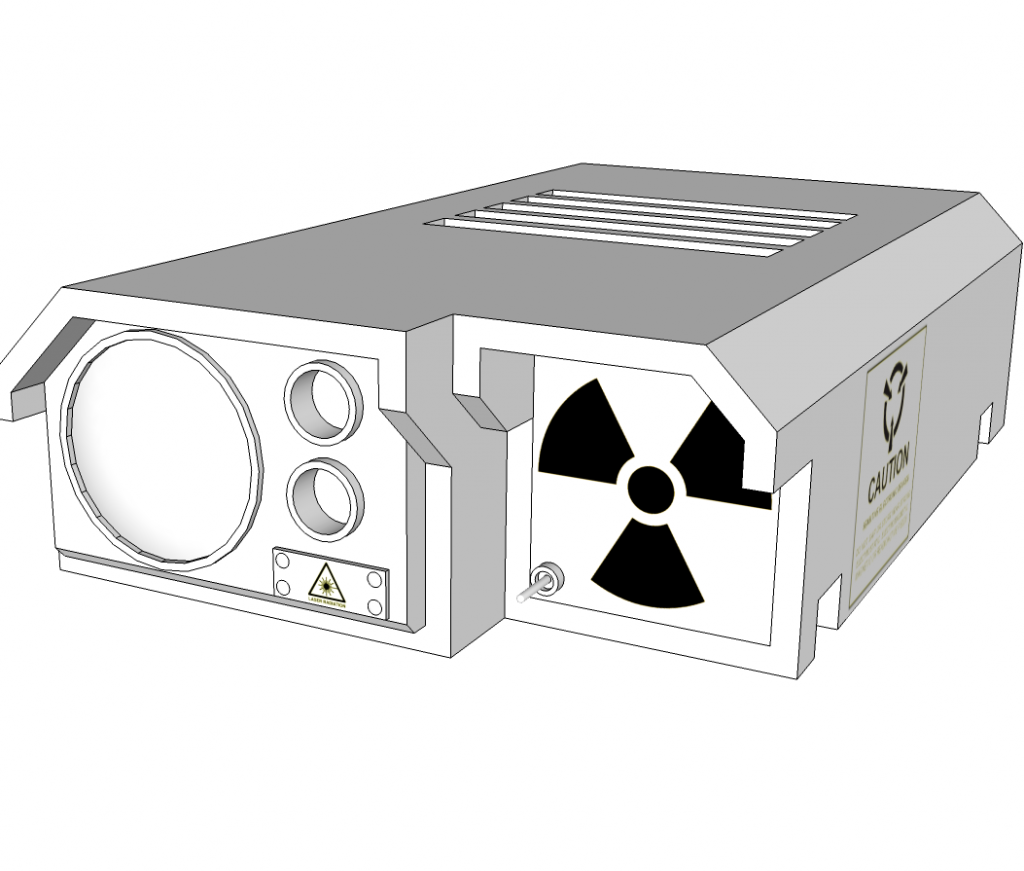
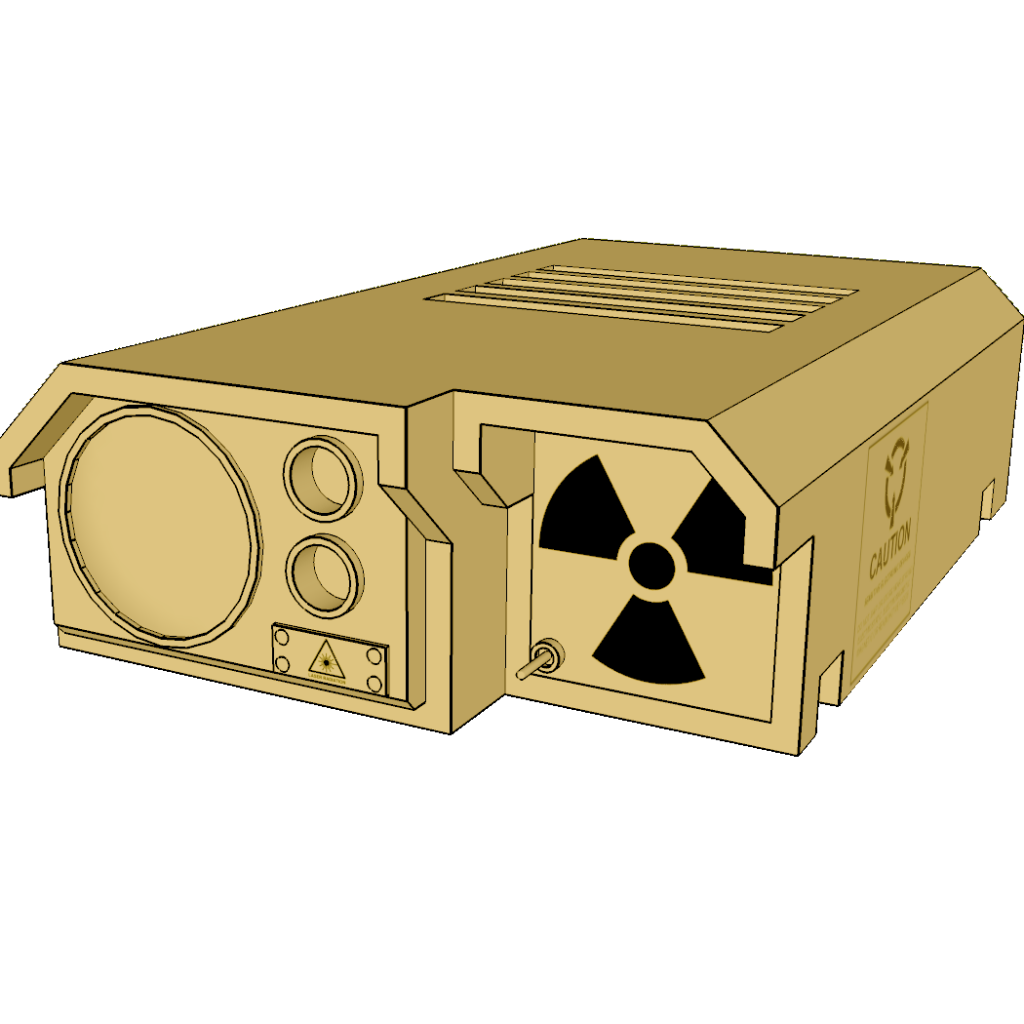
1) Build the 3d model (this is beyond the scope of this tutorial because it is a very extensive subject. I do have information about it in older posts, and will most certainly continue to do so in future posts as well. Your finished model might look something like this:


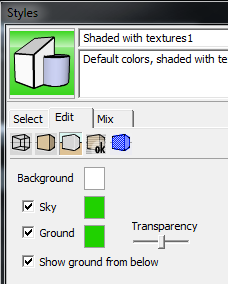
2) Make certain that  View > Shadows is checked and fill the background with a bright color that will not be in your model. I use green (just like a green screen for movies). You can do this by going to Window > Styles and then making a new style. Go to the Background tab and check the Sky and Ground box, then set the colors for them.


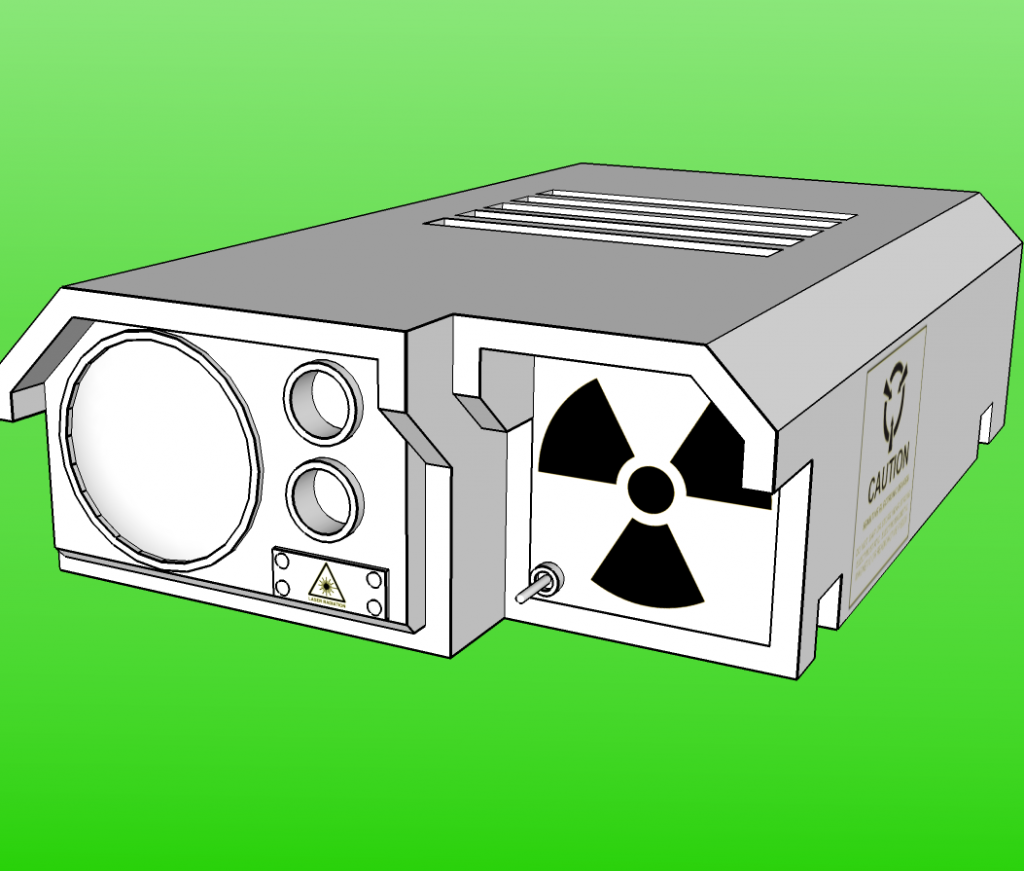
And it show now look like this:


3) You need to export it to an image file so that GIMP can understand it. Sketchup also runs a very very basic rendering operation. It's basically applying anti-aliasing and smoothing to the image.

File > Export > 2d Graphic

Make certain to save it as a .png file.

4) Now, load it into GIMP and select the Select By Color tool from the toolbox. Select the green (you may have to select multiple sections to get all of it by holding the shift key) and delete the color completely. This will result in some left over residue:


Simply repeat step 4 on all the green pixels until they are gone.

5) Now use the fuzzy select tool to select all of the dead space, similar to how you selected the green in step 4.


When you have all the dead space selected, go to Select > Invert Selection. This will select your entire object without singling out dead space, color, etc.

6) Icons should always be a factor of 2 and square. That means you can always divide the pixel dimensions by 2 and the height and width are the same value. This means we need a canvas that fits these requirements.

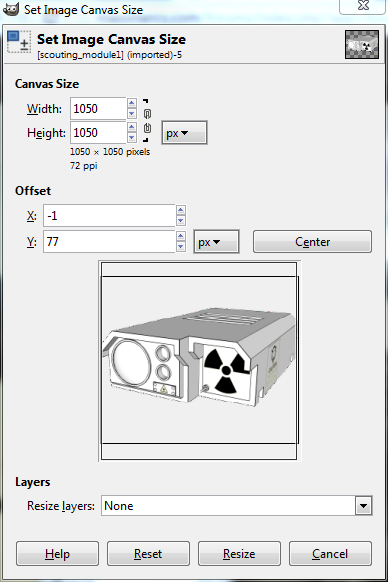
Select Image > Canvas Size... from the top menu and change the dimensions to the nearest even number (you'll want to use the higher number if you have a rectangle). Note: Make certain the chain on the right side is broken! Otherwise, you will be forced to scale in the same ratio.


Make certain you press the Center button! Then press Resize.

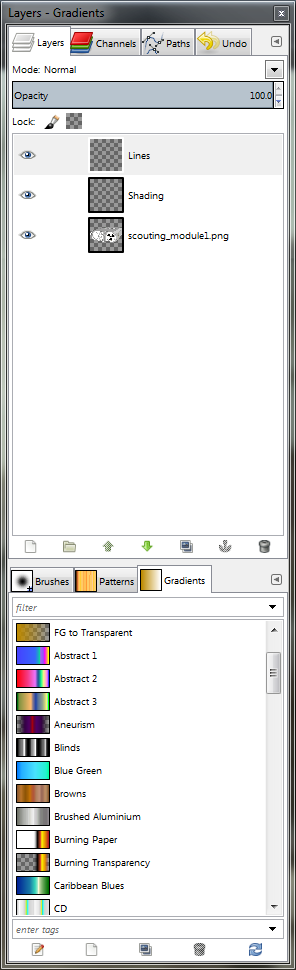
7) Now we have the proper dimensions. In the layers window, right click and select Add New Layer twice. Name the first one Shading and the second one Lines. You should now have layers that look like this:


8) Select the bottom layer (it should have your image name or Background) and select all the dead space. Invert the selection just like step 5 (Select > Invert Selection). You should now have only the image selected.

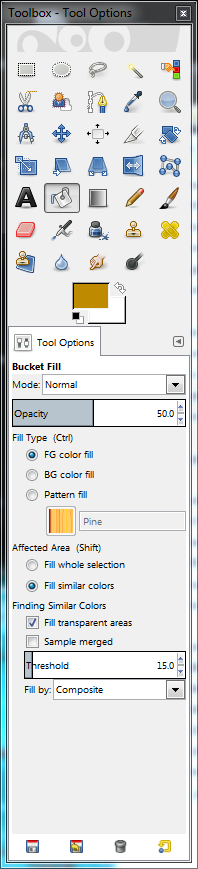
Select the Shading layer by clicking on it and then click the Bucket Fill tool and select your desired color. I'm going to use one similar to the MWO theme.


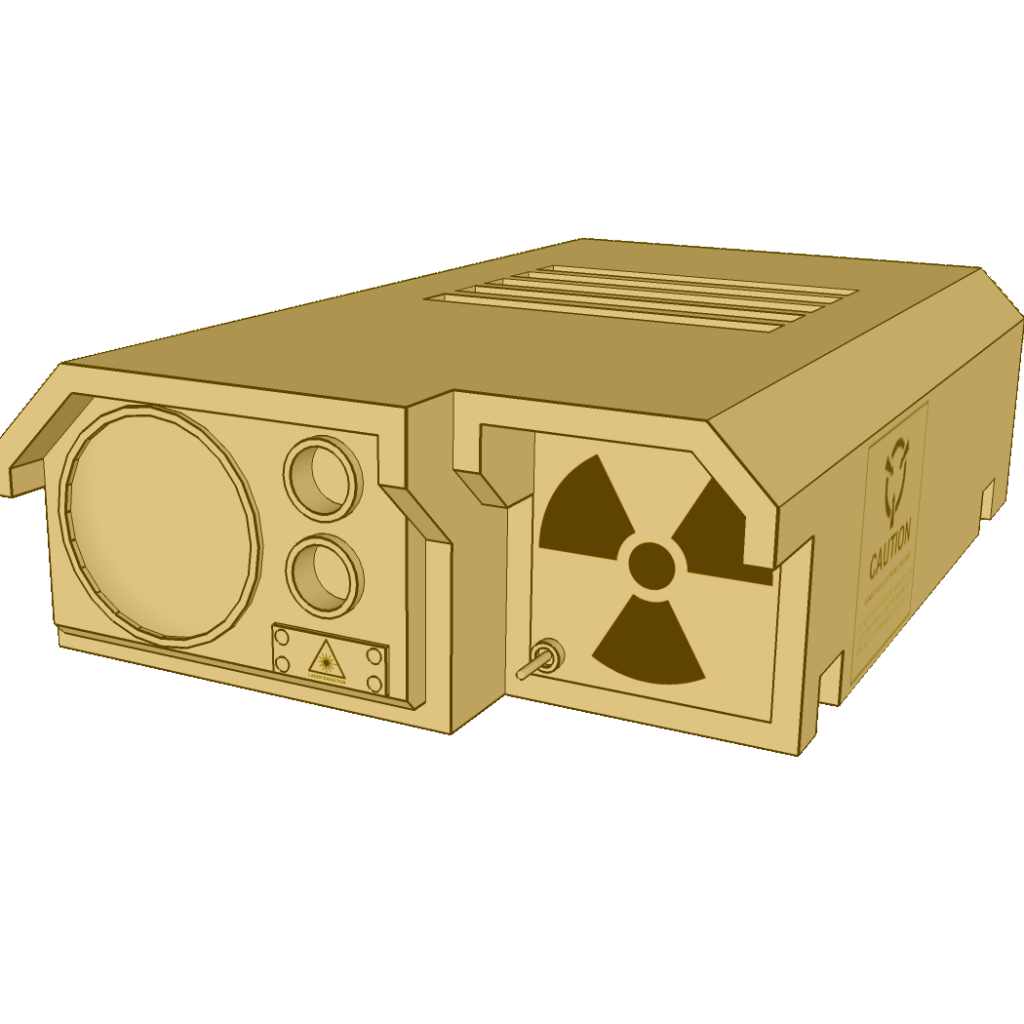
Set the Opacity to 50% and then click in the selected area in the main screen:


9) Now, this is good, but you'll notice the details are muffled, specifically the lines. So now we click on the Color Select tool again and make certain the bottom most layer is selected. Click on a black line anywhere in the image to select all black lines in the image.

10) Modify the Bucket Fill options so that Opacity is 100% and the color is Black.


Then select the Lines layer by clicking on it. Now that it is in focus, hold the Shift Key and click inside your selection. Your image should now have much crisper detail:


11) Last step! Simply select Image > Scale Image and set it to the desired icon size. I'm currently using 100 x 100 px:


And now you have an icon that's ready to use!

Some tips for consideration:


  • Keep your final icon size in mind when designing your 3d model. It's possible to spend days making a professional model, but you'll lose 95% of that detail when you shrink it to an icon!
  • Create your theme and color scheme before making finished icons. Otherwise, you'll end up fixing them all again, and again... and maybe even again.
  • Save the .xcf file! Always, no exceptions! You can't edit layers once the image has been exported and flattened.


++++++++++++++++++++++++++++++++++++

Here are a few more icons I've made:


Sunday, October 7, 2012

3D Tool Shakeup

In the past, my program of choice for 3d modeling has been sketchUp. I have oodles of plugins for it and find it extremely fast at creating hard surface models. However, Google recently sold sketchUp to a company called Trimble. Their latest update seems to have seriously broken the scaling tool. Because SketchUp does not work well with very small dimensions (less than 6"), I've produced my models as a factor of 10 or 100 times the desired size. Once the model was completed, I used the scaling tool to reduce it down.

As of the latest patch, SketchUp crashes immediately when I scale below 6", or when I explode components  in less than 1'. Basically, it's now incapable of producing small components. While irritating, this did lead me to discover a couple of useful tools.

Netfabb Studio Basic - This is a free program that accepts Collada (.dae) files from SketchUp, scans them for problems, resizes, and exports to .stl format. It even has a basic mesh fixing algorithm that can fix simple problems with your mesh.


This is also great if you want to make an injection mold for your models instead of 3d printing. The interface is minimal and easy to learn, with only a few options that are pertinent to the design pipeline.

Sculptris - Another free program from Pixelogic, the makers of zBrush. This is an amazing tool for producing organic models very rapidly. It is slightly more difficult than SketchUp, but leagues easier than Maya or Blender for making organic models. Though there is a slight learning curve, there also are piles of tutorials for making just about any kind of model you want. Sculptris exports to .obj, so it can be loaded into Netfabb, correctly sized, and (if necessary) exported as a .stl file.

Another great benefit of Sculptris is that you create models in the same way you would clay or putty, so a lot of the same techniques can be used. The downside is that it has very few undo steps, so it's possible to destroy a model on accident.You'll want to make alternate saves at regular intervals to avoid this. Once I get the hang of Sculptris, I'll do some blog updates with tutorials, renders, etc etc.

Happy modeling!


Thursday, October 4, 2012

Angel Sword

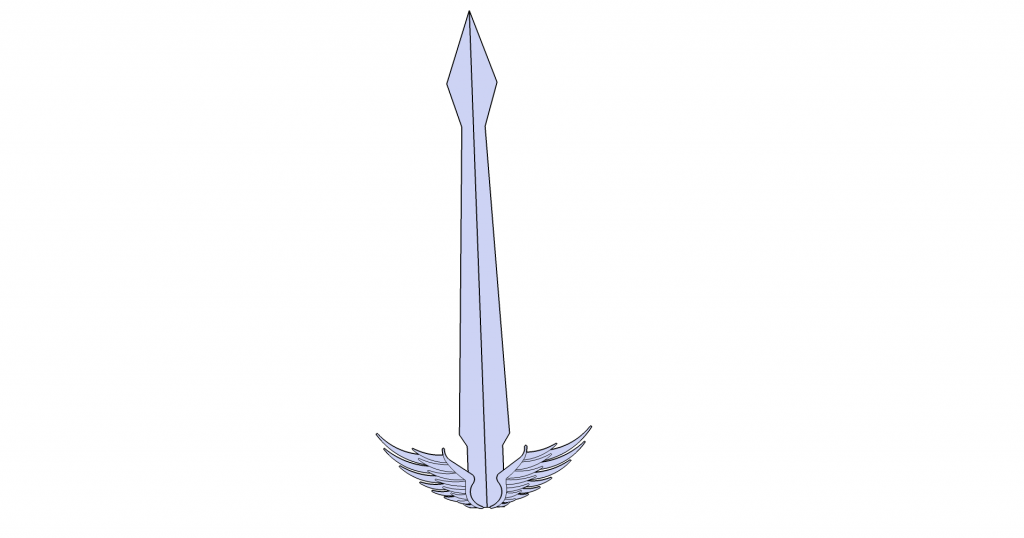
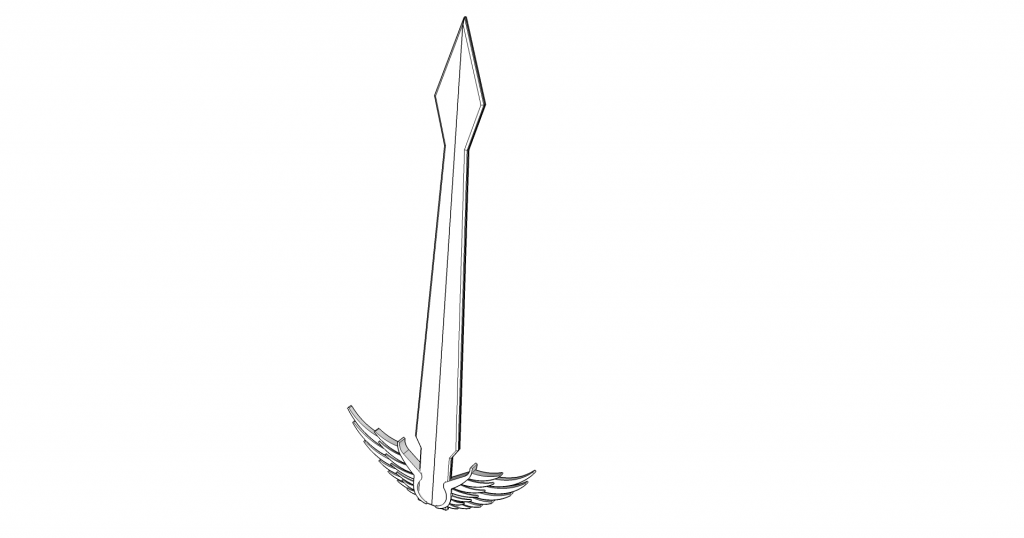
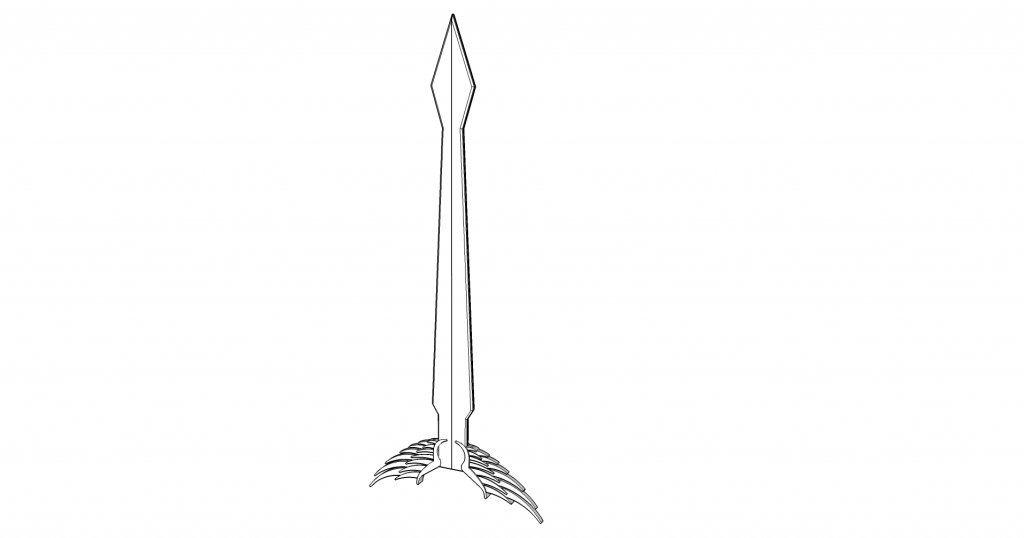
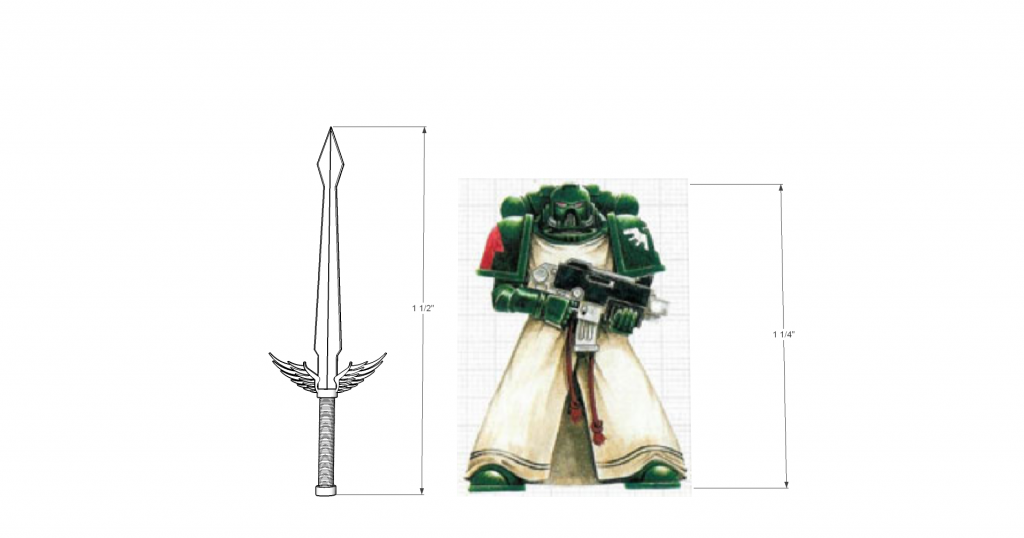
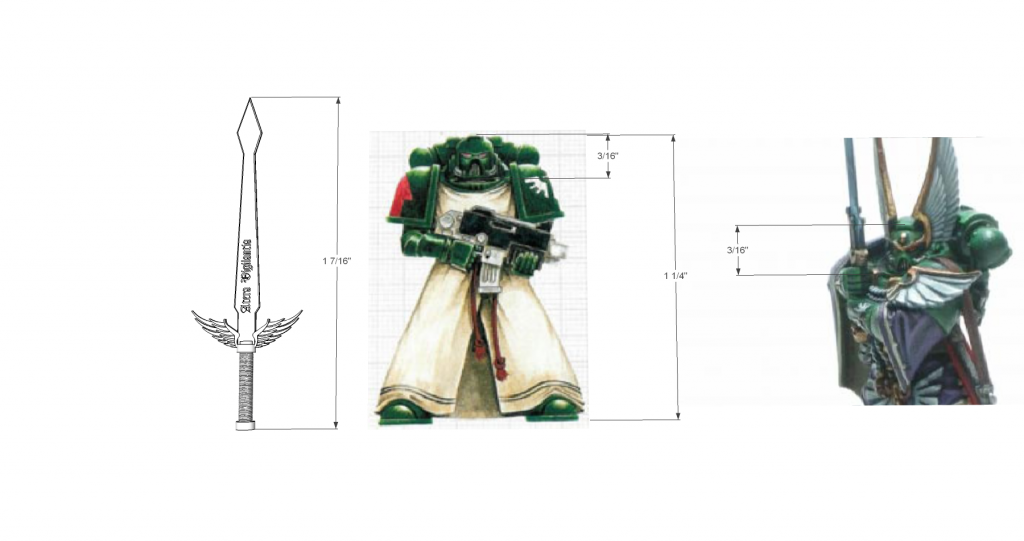
Hey bloggers! It's been a while since I've updated (and worked with anything 3d, for that matter!) but I did finally get some time to work on a sword. The idea was to make a Dark Angel themed weapon that could also be used on other miniatures. My first attempt was not impressive and was too animeish:


Never one to give up, I archived it and started fresh. First I broke up the parts of the sword into multiple components for future use (something I have been reminding myself that I need to do. This gave me a pommel, grip, cross guard, and blade. The blade and cross guard I started working on immediately to get something that fit:


Though Dark Angels traditional have a back-swept cross guard, I decided to go with the more forward and out-swept version.

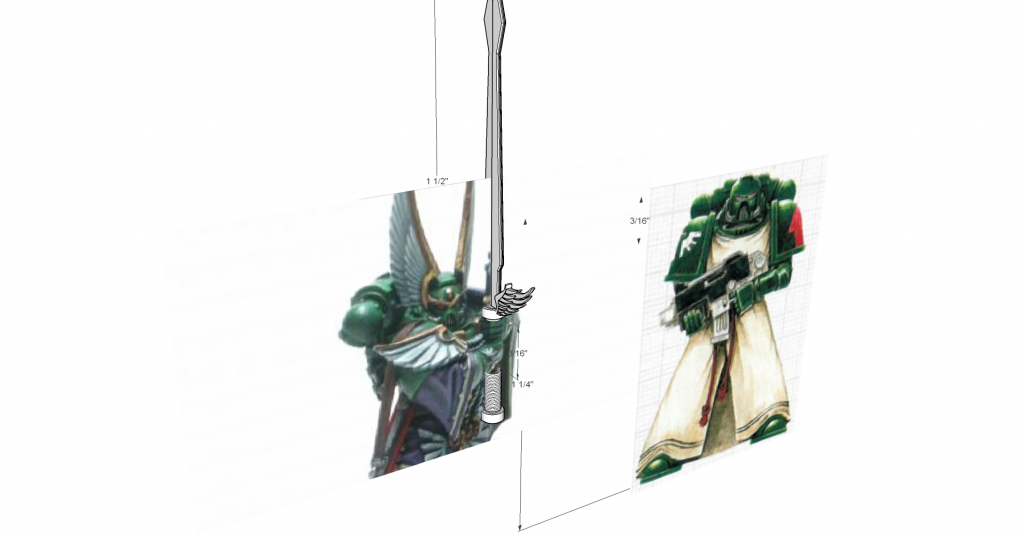
With this complete, I added the grip and imported a few pictures for reference. I measured them out and scaled them to the proper size:


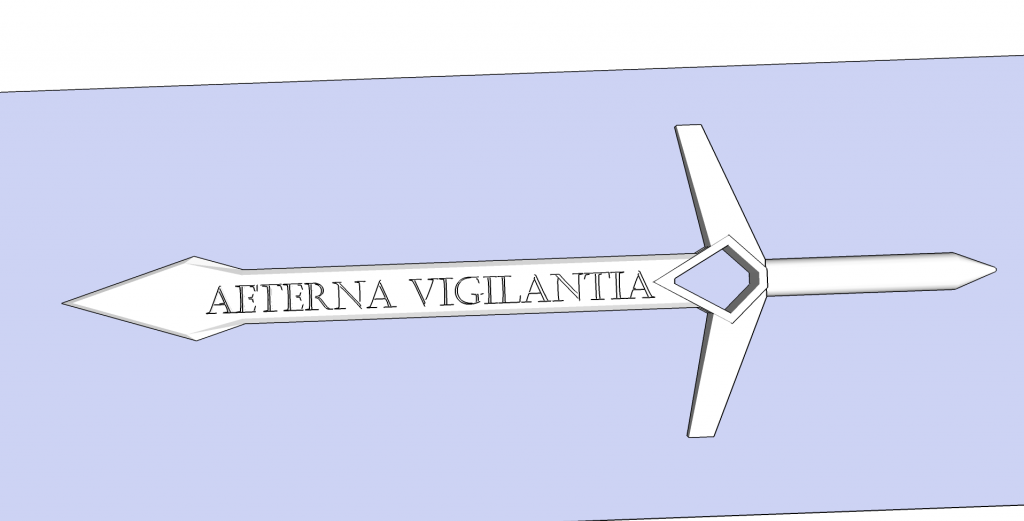
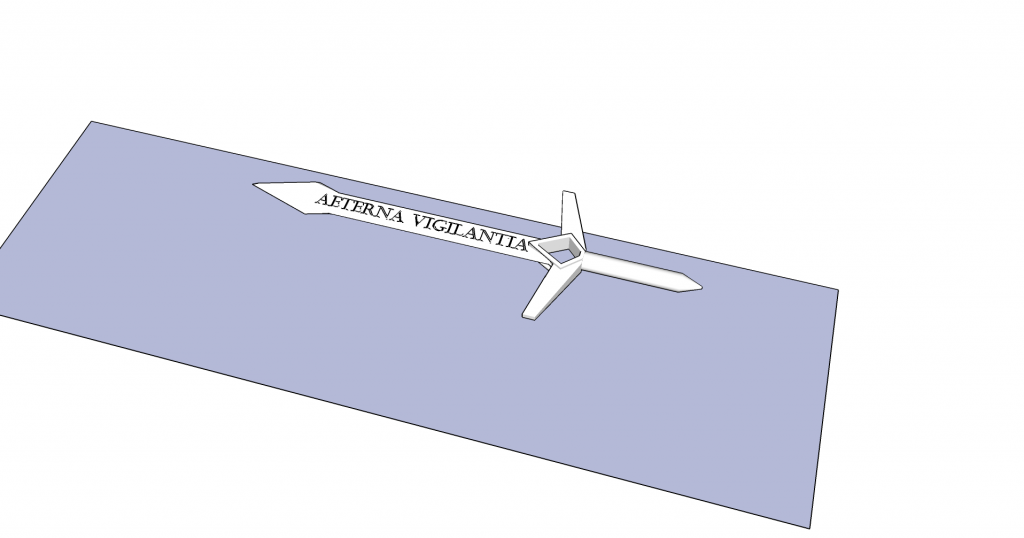
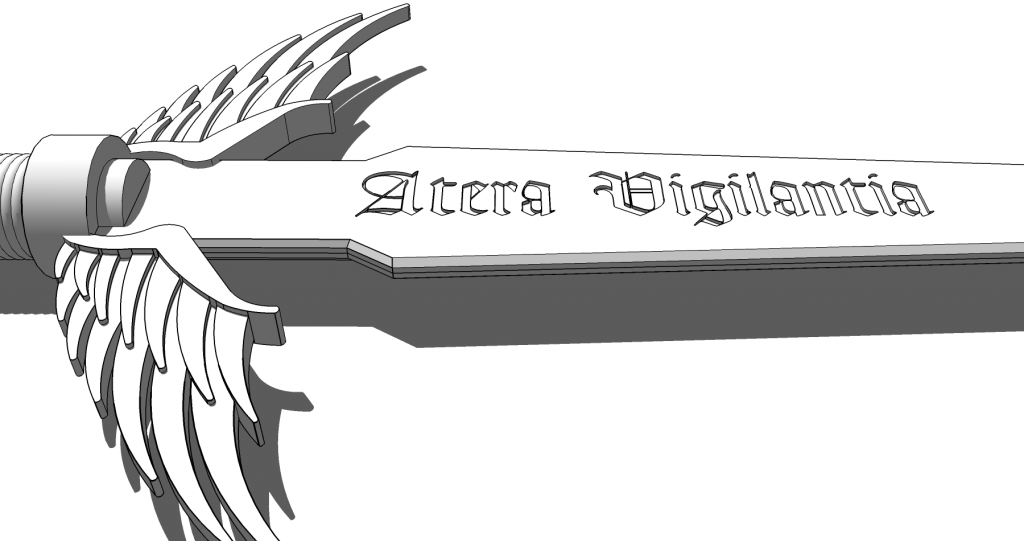
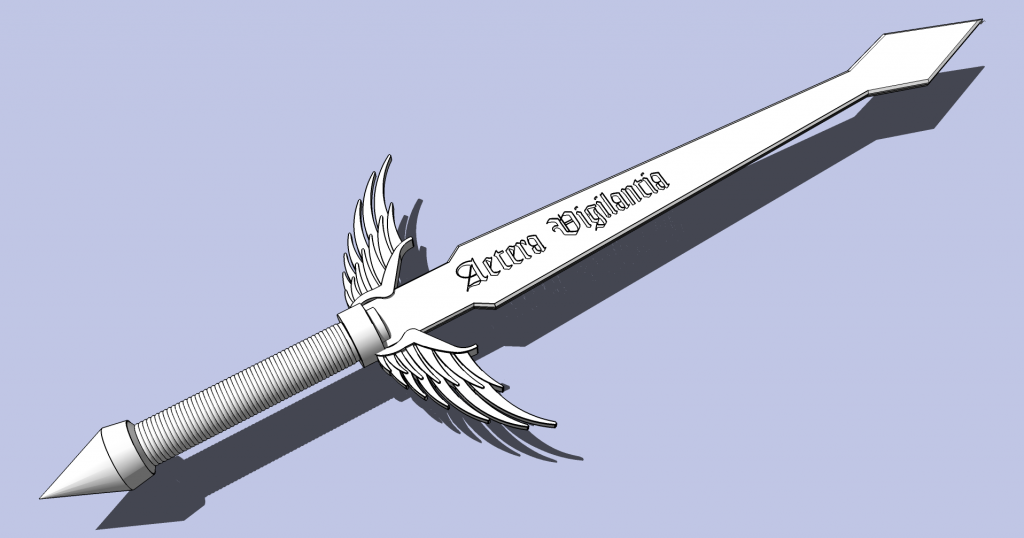
The grip is, of course, too long, but that will be fixed in a bit. I added the swords name "Atera Vigilantia" [sic]. Unfortunately, the spelling was off. The words are raised from being 3d text:


I then embedded the text into the blade so it looked like an engraving:


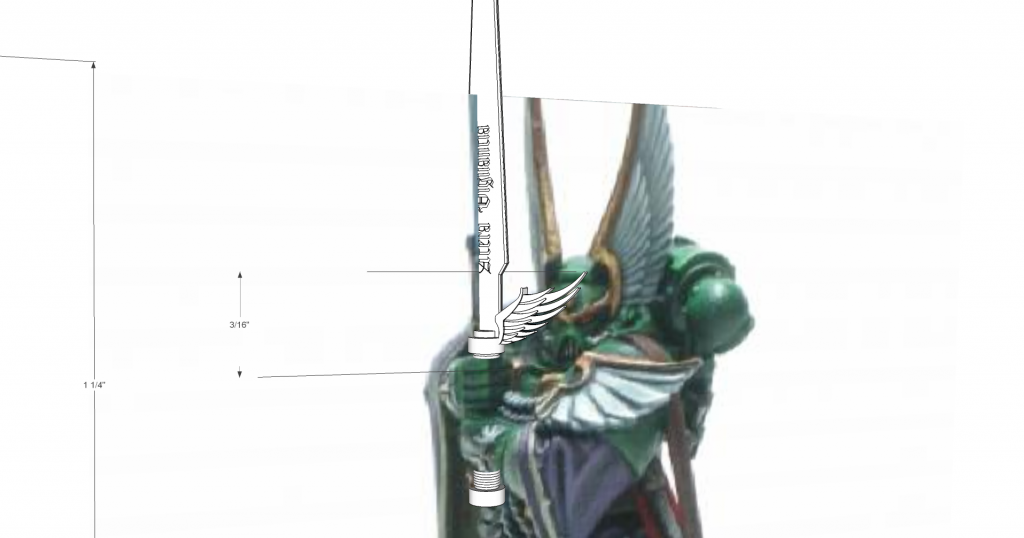
I shortened the grip and referenced the size again to see if I was on the mark:


Much better!

I created the pommel and the sword was complete:


Total time was around 5 or 6 hours. I used a method called projection to make the cross guard. I'll probably make a full entry/tutorial about it as my blog ramps back up. Until then, you can see some of my work on livestream (including the projection) on LiveStream.

Until next time!

Thursday, April 26, 2012

Rampant Miniaturization

So my very small company is moving into a very small office. My business partner and I went to inspect it and take measurements. This morning I decided to start creating it in sketch-up. I made a decent mockup of what the office would look like when we are done:
To save time, I downloaded the chairs, coffee pot, refrigerator, monitors, keyboards, and computers from the 3d warehouse. I then textured the doors, desks, floors, white board, server rack, and monitor screens. The monitor and white board textures are custom materials. I showed my friend, and he said "you know, we should 3d print this so we have a little model of our room that we can rearranged and see how everything fits." That could be a brilliant idea. If we decide to do that, I'll post the final print outs on here.

Friday, March 23, 2012

Base Models

One of the major advantages of 3d modeling over traditional sculpting is the ability to produce a base model or component. This base model can be used to rapidly design alternate versions, accessories, and even different models that use the same dimensions or snap-together parts.

By making effective base models, you can greatly decrease redundancy and wasted time during production. Those who are familiar with video game design also know that it allows for the same rigging to be used for multiple models. I find it interesting that rigging seems to be absent from 3d miniature design, but more on that later.

So, what are base models and how can they be designed effectively?

Lets tackle the first question. A base model is simply a boiled down and very basic version of the final product. It has no outstanding details, but should convey a general feeling of what it is, be it a car, gun, human, house, etc. Remember that it still needs to have defining features, just not specific to an individual model.

Here is an example:


This is obviously a human male, but it doesn't contain any specific features. This could potentially be anyone.

Now how do we make effective base models? Remember, a base model is meant to save you time and reduce your work load. This means that you will need to focus on two points:

A) How will this model be used in the future? (basic geometry)
B) What features will be common among all the models? (details)

Question A is for the basic geometry. Say you're making an assault rifle, as an example. You might say that all rifles have a grip, a trigger, a charging handle, a barrel, and a magazine. So basic geometry should reflect all of these, right? Not quite. This is where you must evaluate your future designs that will be based on this model. If you are going to make a bullpup configuration, a conventional magazine well would then need to be moved:


In the above image, we see two rifles. The top rifle is a bullpup with its magazine behind the grip. The bottom is a conventional rifle with the magazine in front of the grip. Those of you who don't study firearms might be thinking "So what, just move the box back and call it good!" That's great if you're making low poly models for an RTS, but people want more detail in their miniatures.

If you move the magazine back, you also have to move bolt, and ejection port back, increase the size of the stock, and change the hand guard. Generally you'll need to shorten the barrel as well. So now you're doing a lot of work to retool a base model to fit the same item type. This is also true for organic models, cars, airplanes and everything else. You don't try to make an F15 fighter out of a cargo or biplane base.

So, you'll need to consider what you're finished product will be. Are you going to make 30 or 40 assault rifle variations? Get pictures of each weapon and sort them into groups by common features. A quick breakdown can give us:


Handguns

Semi-Automatic

Revolver

Assault Rifle

Standard

Bullpup

Rifles

Bolt Action

Automatic


So you see how this can break down into a lot of base models! This isn't necessarily a bad thing if you have a full art team, as some people will be making base models while others add detailing and finalize them. It can be a bit much for one person though, so it's a good idea to prioritize your models. Use just a single type until you've completed your goal, then branch out as you have time. Using the assault rifle example, you should pick only a couple types of weapons to begin with, such as semi-automatic pistol, standard assault rifle, and pump action shotgun. This gives you three base models to work with and keeps the scope of your project much more reasonable.

Once you've narrowed down your base models and their basic geometry, you can move on to the second point. Given a single base model, what will all of the final models have in common? It is important to compare each model and determine what similarities there will be between them. For example, all of your semi-automatic handguns may have recoil operated slides and round trigger guards. This is a detail specific to automatic pistols, but not other weapons.

For example:


You'll notice that, despite color, size, and model, each one of these handguns have striking similarities, especially when contrasted with revolvers. So the question is, why redesign the slide for each weapon? For miniature games (especially 15mm) these details need not be very specific or varied. You can replicate these subtle details over many weapons without the design becoming boring.

Consider the following example:


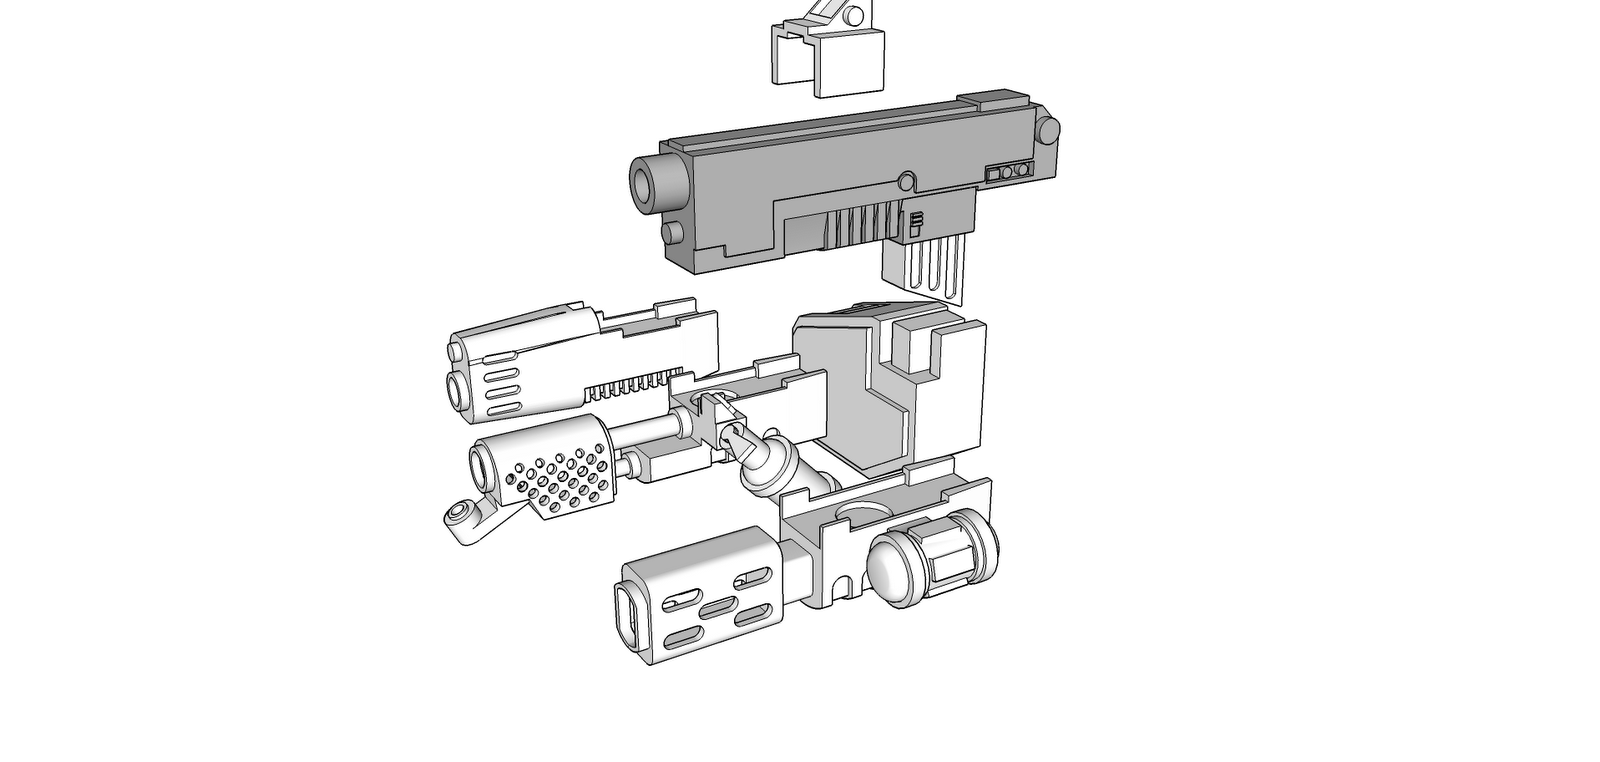
This is the base model I made of a Warhammer 40,000 bolter. I knew that if I made any alterations, they would not be with the charging handle, magazine well or grip (actually, its a specifically designed flat area, as space marine hands have the weapon grip molded into them. You just have to make certain to design the weapon to properly fit over the hand). I decided to extend out the barrel and add an integrated, bottom fed grenade launcher.


Notice how I was able to simply extend the front and model the grenade launcher? I didn't need to change any of the subtle details (though I did decide to take off the front sight aperture, as I felt it was redundant with a holographic sight). I then decided to completely break away from this concept. Using the same base model, I shortened the barrel length and added option "lock in" parts:


95% of the details on the bolter remained the same, with only a minor reconfiguration of the foregrip and bottom mount for combi-weapons.

Now, obviously you can decide to get crazy with your designs and make everything completely unique. It might even sound very good on paper. However, I have to advise against this. You're severely limiting your output and variety of models, plus you're reinventing the wheel with each model. Even if you don't specifically intend to produce multiple models or kits, making a base model can allow you to revisit designs or start over if you don't like the end result.

Even more important, if your clients like the work and want derivatives, you don't have to start over or dramatically alter the finished product. You'll have a large portion of the work already completed. You can then offer a discount on the work, or seriously cash in on an easy project (though you'll get more return work going the discount route).

As always, I hope this helps an thanks for reading!