So, I've been getting a really bad pain in my right arm thanks to my awful posture. I broke the right armrest clean off the chair, and then finally broke the backrest around the time the pain creeped up my neck. So, I tossed the chair out and did some craigslist hunting. I found one for $10 that's so comfortable I think I could melt into it. I've seriously never had a chair this comfortable in my life. It needs one bolt where they lost the lock for the right armrest, but that's all of what, 30 cents?
Because of this, I've tried not to do too much hard core modeling. However, I did decide to work on an interactive mech lab for Mechwarrior Online. What exactly do I mean by "interactive"? Well, here is a quick tech demo:
Not too pretty, and lots of work to be done. Expect it to be multi-platform (Windows, Linux, MacOS) but not mobile.
Sadly, the elevator of all things is giving me problems. Poor Bill never saw it coming. You know, you show up for work thinking the maintenance guys have been doing their job, and you go through the same procedure that you've done a thousand times before. Then this happens:
The doctors said that the swelling will go down in a few weeks, but he'll have to pee sitting down for the rest of his life.
Seriously though, still putting everything together, despite the pain in my arm. I did order an ergonomic mouse and gel wrist pad, so hopefully that will help out for those marathon modeling sessions.
I'll post more when I have it. Until next time!
Showing posts with label Warrior. Show all posts
Showing posts with label Warrior. Show all posts
Monday, September 9, 2013

Tuesday, August 27, 2013
Mechwarrior Online and Third Person View (3PV)
So, PGI finally added 3PV to MWO, and it's causing part of the internet to burst into flames:

I made the comic in reaction to the, well, vocal reaction to 3PV. It's a bit rough as I didn't want to spend a lot of time on it. But if there is some interest, I could flesh out the characters and add a bit more polish for a full series. To include a full cast of characters and a Mechwarrior Online theme, to be sure (probably even a deeper battletech theme).
Honestly, I'm not overly surprised. I'd rather not have it included (my personal preference) but it is pretty vital as a learning instrument for new players. Certain games, such as War Thunder, have an entire play mode dedicated to new players who don't want to learn hardcore mechanics. Hopefully MWO will be at a point in the future where they can segregate new players for a number of matches (or even permanently if they so choose) in a boiled down environment that's much more forgiving.
That said, the game is still fun, and new players shouldn't have too difficult a time learning if they hop onto a teamspeak server and pair up with veterans. It's definitely for the thinking gamer and relies heavily on teamwork.
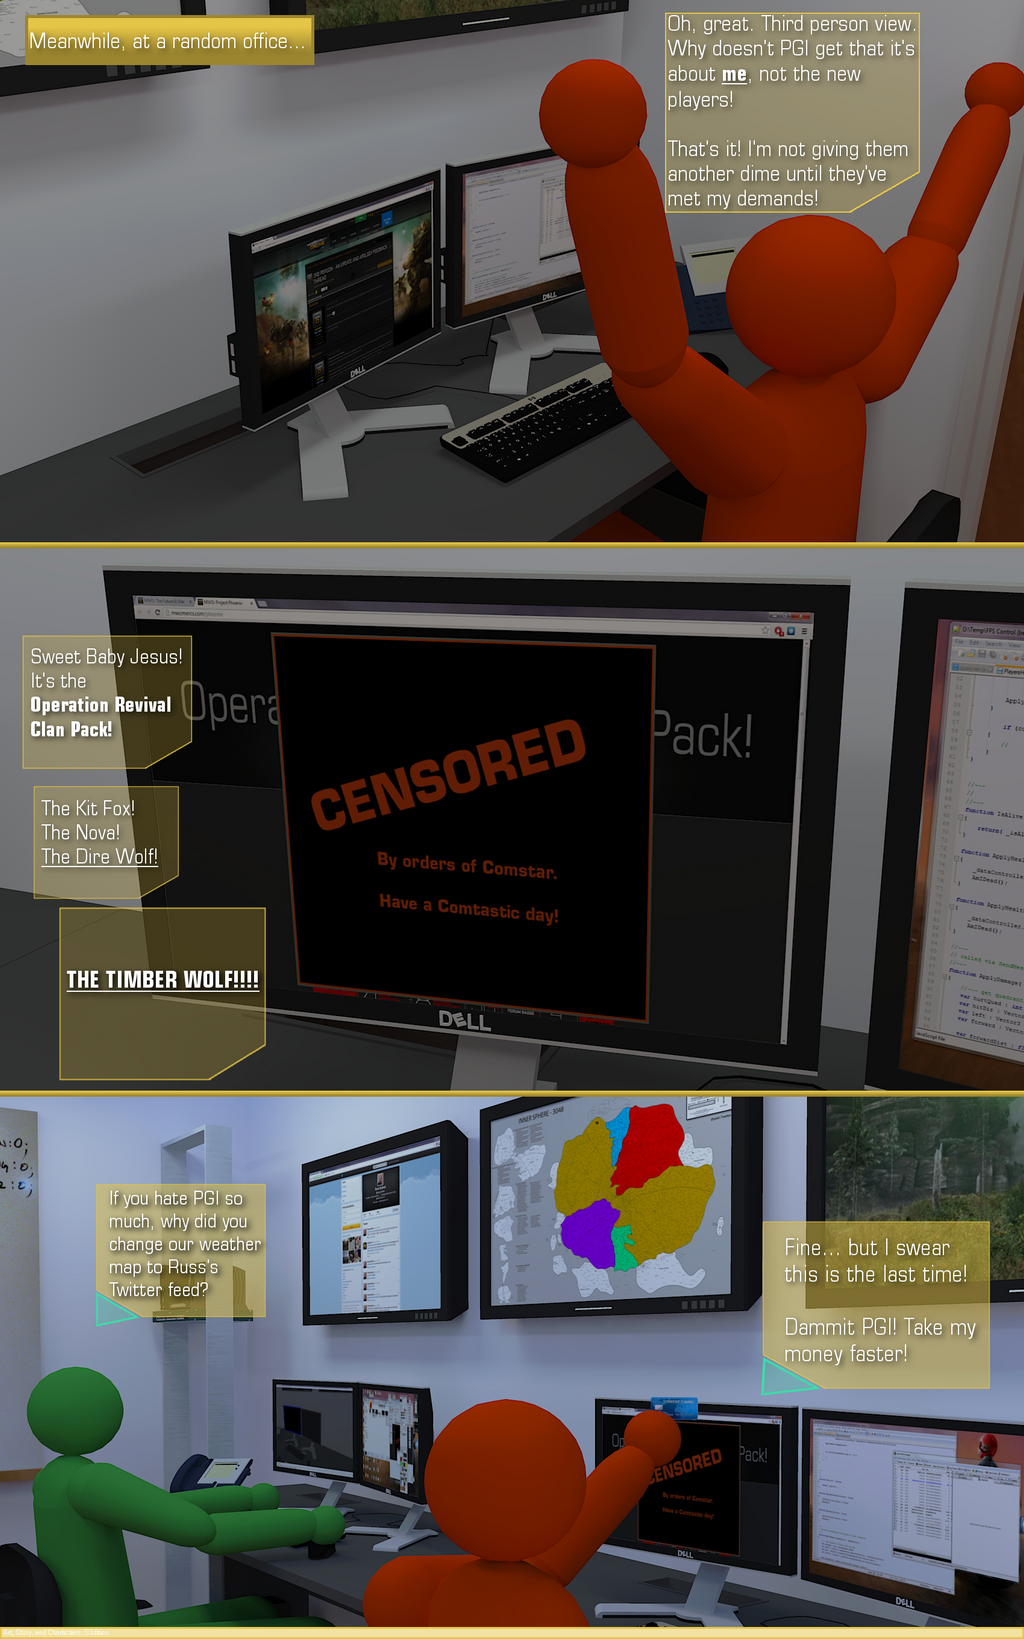
I made the comic in reaction to the, well, vocal reaction to 3PV. It's a bit rough as I didn't want to spend a lot of time on it. But if there is some interest, I could flesh out the characters and add a bit more polish for a full series. To include a full cast of characters and a Mechwarrior Online theme, to be sure (probably even a deeper battletech theme).
Honestly, I'm not overly surprised. I'd rather not have it included (my personal preference) but it is pretty vital as a learning instrument for new players. Certain games, such as War Thunder, have an entire play mode dedicated to new players who don't want to learn hardcore mechanics. Hopefully MWO will be at a point in the future where they can segregate new players for a number of matches (or even permanently if they so choose) in a boiled down environment that's much more forgiving.
That said, the game is still fun, and new players shouldn't have too difficult a time learning if they hop onto a teamspeak server and pair up with veterans. It's definitely for the thinking gamer and relies heavily on teamwork.
Friday, March 8, 2013
Mercpedia Beta
For those of you following our unofficial MWO app, Mercpedia, you can now download the beta on the Play Store. We have some fixes and updates in the pipe already, but keep in mind that it's currently in a beta state.
Though if you do enjoy using it, we're more than happy to accept your donations :).
Though if you do enjoy using it, we're more than happy to accept your donations :).
Monday, December 17, 2012
Leopard Class Dropship
I decided to make the app's "Home" button a leopard class dropship. Then I got a little carried away. Okay, maybe more than a little. This is based on Alex Iglesias' re-design, though obviously changed up a bit.
I think I'll continue working on it and see how much detail I can put in. It's definitely a candidate for 3d printing.


Saturday, December 8, 2012
More Icons
I think I'm getting carpal tunnel from all this art. My wrist hurts like hell. Anyway, enough whining, here is another shotgun blast full of art for the Mercpedia app:




Thursday, December 6, 2012
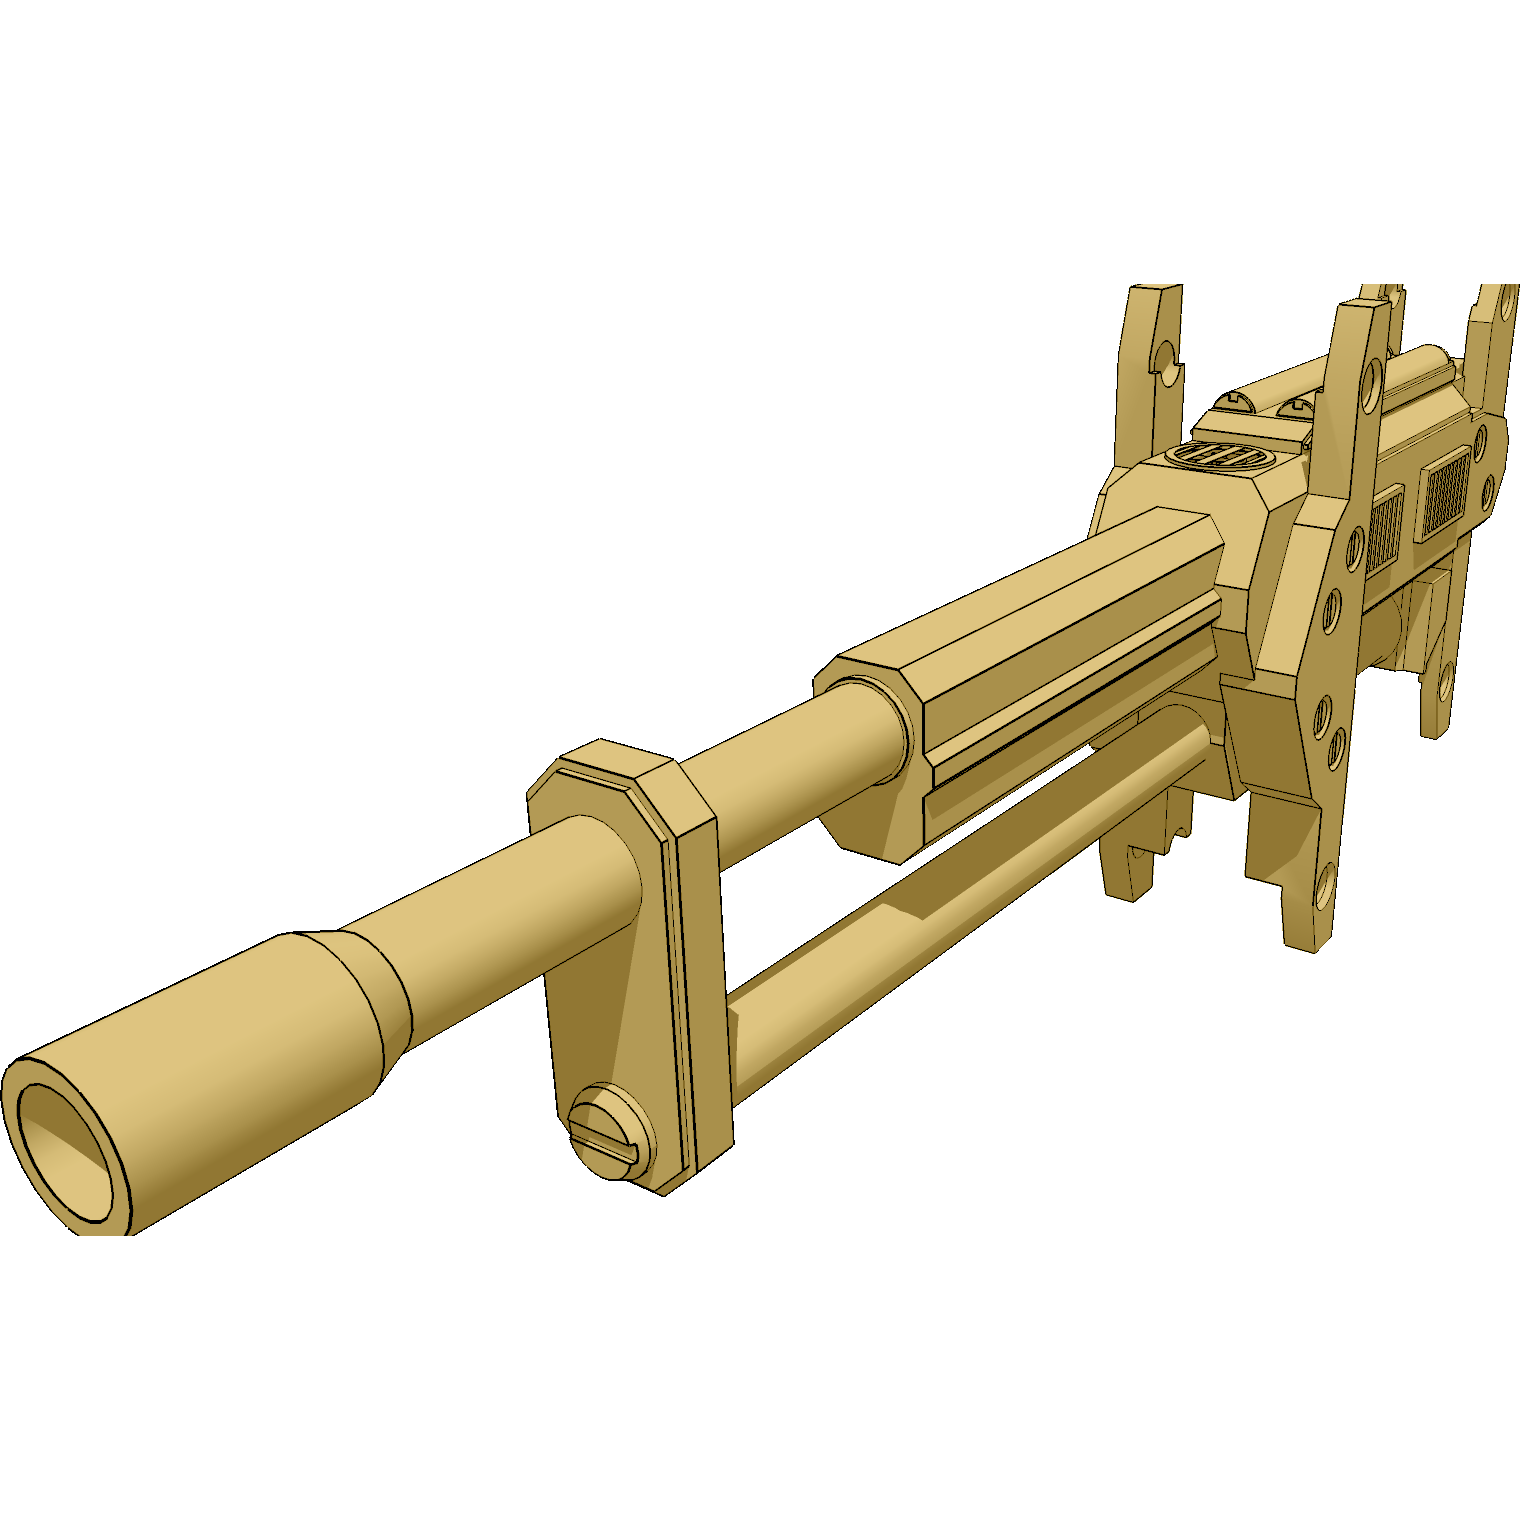
Boom Guns
How about something a little more familiar? Boom guns! Autocannons are a bit hit and miss in Battletech, and they're still undergoing a lot of balancing in Mechwarrior Online. Still, they're fun to draw :)


Livestream Online!
About to enter a livestream (5 minutes). You're welcome to come by and watch here.
I'll be working on stuff for the Mercpedia android app for the most part, but I might deviate a little bit. I also plan on doing this for quite a few hours (probably all day) with a couple of breaks in between.
Come check it out! :)
I'll be working on stuff for the Mercpedia android app for the most part, but I might deviate a little bit. I also plan on doing this for quite a few hours (probably all day) with a couple of breaks in between.
Come check it out! :)
Tuesday, December 4, 2012
UI Update
We're getting much closer to being done. The UI has a lot more polish and some of the icons have been added (finally):


This is actually moving along rather nicely. Certainly much faster than I thought it would. It's cool what you can learn in a year :)


This is actually moving along rather nicely. Certainly much faster than I thought it would. It's cool what you can learn in a year :)
Gauss Rifle
Doing some more work on the app. I present to thee, the Gauss Rifle. Traditionally it has a round barrel and is more of a coil gun in Battletech. However, the rail gun is capable of higher velocities and is much more suited for defeating heavy armor. This one features a rear loading breach (instead of the usual side loading) and dual liquid cooling modules. Five, massive solid state capacitors store the energy necessary for expelling SABOT rounds at super sonic velocities.
Enjoy :)


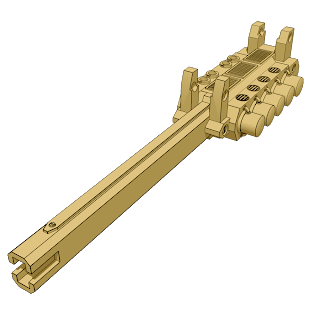
Enjoy :)


Monday, December 3, 2012
3D to 2D art tutorial
This is a quick tutorial on how to make 2d art assets, such as icons, from 3d objects. For this tutorial, I will be using Sketchup and GIMP. Both of these programs are free and available on multiple operating systems, so anyone is able to get started.
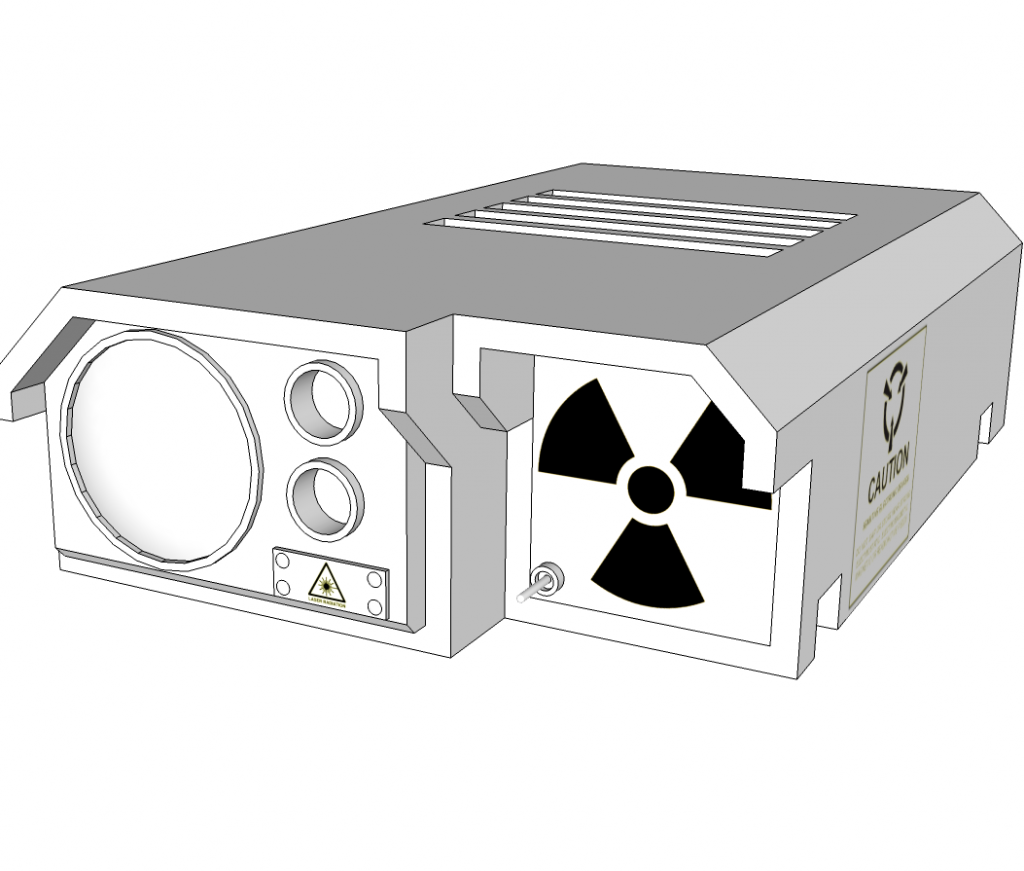
1) Build the 3d model (this is beyond the scope of this tutorial because it is a very extensive subject. I do have information about it in older posts, and will most certainly continue to do so in future posts as well. Your finished model might look something like this:
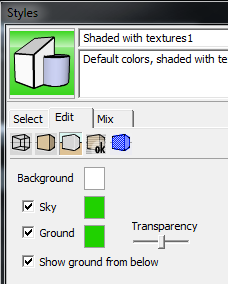
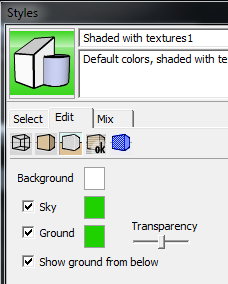
2) Make certain that View > Shadows is checked and fill the background with a bright color that will not be in your model. I use green (just like a green screen for movies). You can do this by going to Window > Styles and then making a new style. Go to the Background tab and check the Sky and Ground box, then set the colors for them.
And it show now look like this:
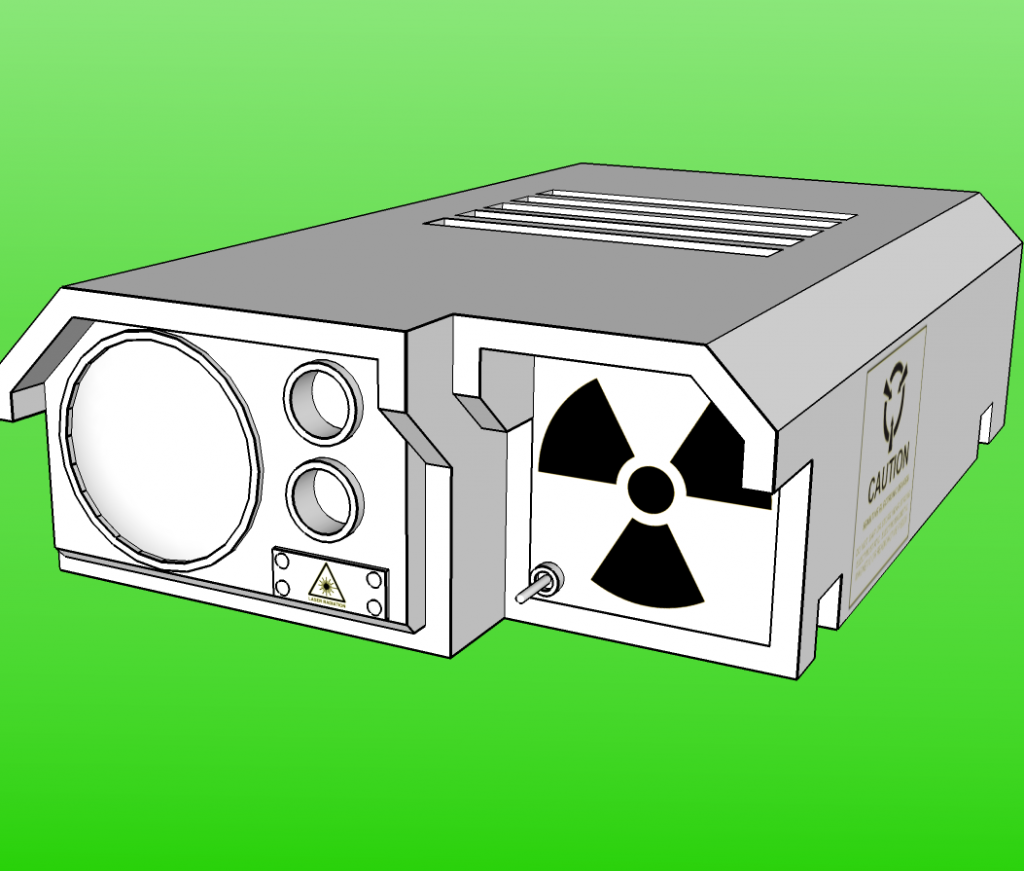
3) You need to export it to an image file so that GIMP can understand it. Sketchup also runs a very very basic rendering operation. It's basically applying anti-aliasing and smoothing to the image.
File > Export > 2d Graphic
Make certain to save it as a .png file.
4) Now, load it into GIMP and select the Select By Color tool from the toolbox. Select the green (you may have to select multiple sections to get all of it by holding the shift key) and delete the color completely. This will result in some left over residue:
Simply repeat step 4 on all the green pixels until they are gone.
5) Now use the fuzzy select tool to select all of the dead space, similar to how you selected the green in step 4.

When you have all the dead space selected, go to Select > Invert Selection. This will select your entire object without singling out dead space, color, etc.
6) Icons should always be a factor of 2 and square. That means you can always divide the pixel dimensions by 2 and the height and width are the same value. This means we need a canvas that fits these requirements.
Select Image > Canvas Size... from the top menu and change the dimensions to the nearest even number (you'll want to use the higher number if you have a rectangle). Note: Make certain the chain on the right side is broken! Otherwise, you will be forced to scale in the same ratio.
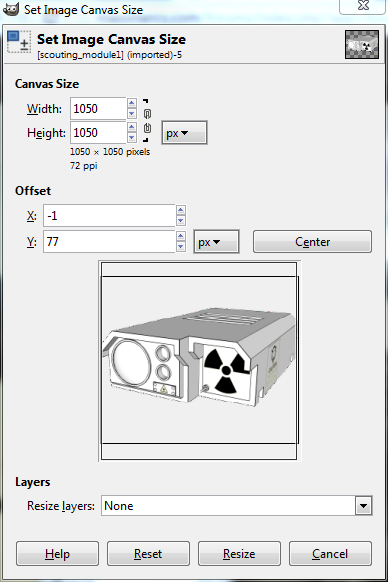
Make certain you press the Center button! Then press Resize.
7) Now we have the proper dimensions. In the layers window, right click and select Add New Layer twice. Name the first one Shading and the second one Lines. You should now have layers that look like this:
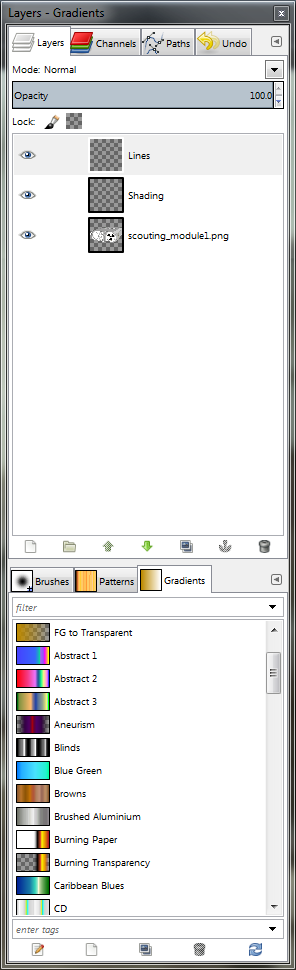
8) Select the bottom layer (it should have your image name or Background) and select all the dead space. Invert the selection just like step 5 (Select > Invert Selection). You should now have only the image selected.
Select the Shading layer by clicking on it and then click the Bucket Fill tool and select your desired color. I'm going to use one similar to the MWO theme.

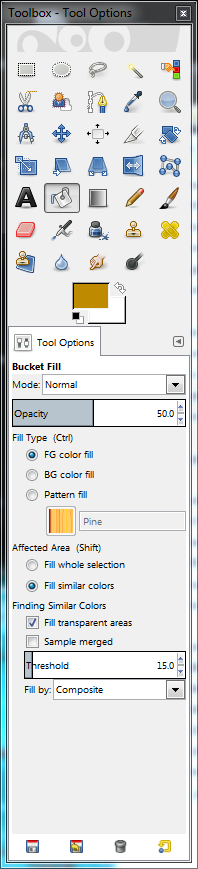
Set the Opacity to 50% and then click in the selected area in the main screen:
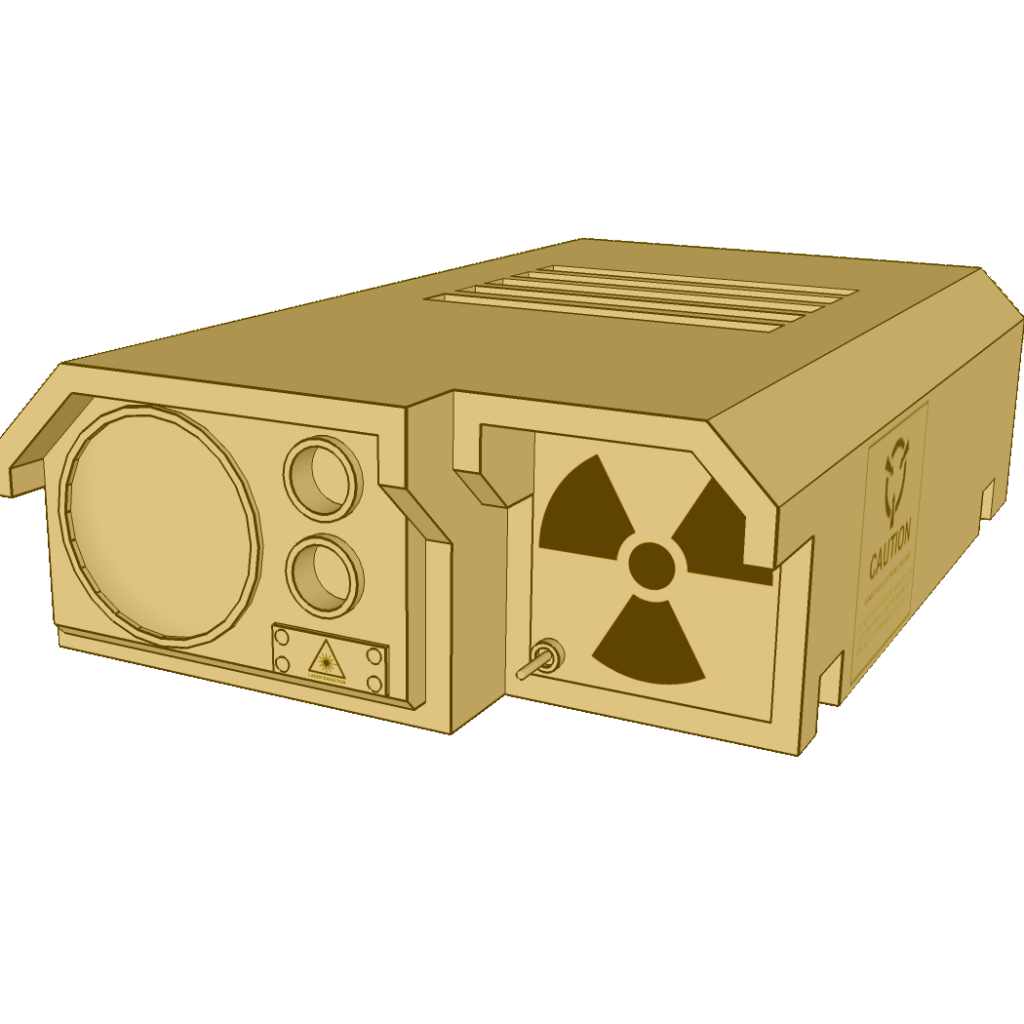
9) Now, this is good, but you'll notice the details are muffled, specifically the lines. So now we click on the Color Select tool again and make certain the bottom most layer is selected. Click on a black line anywhere in the image to select all black lines in the image.
10) Modify the Bucket Fill options so that Opacity is 100% and the color is Black.
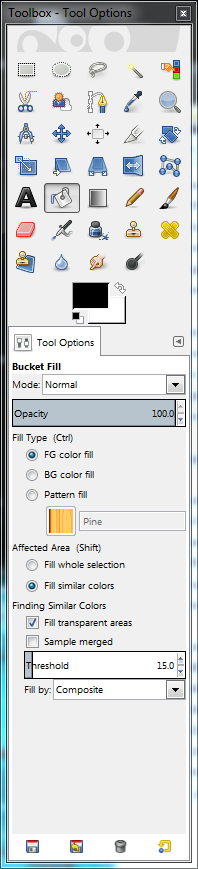
Then select the Lines layer by clicking on it. Now that it is in focus, hold the Shift Key and click inside your selection. Your image should now have much crisper detail:
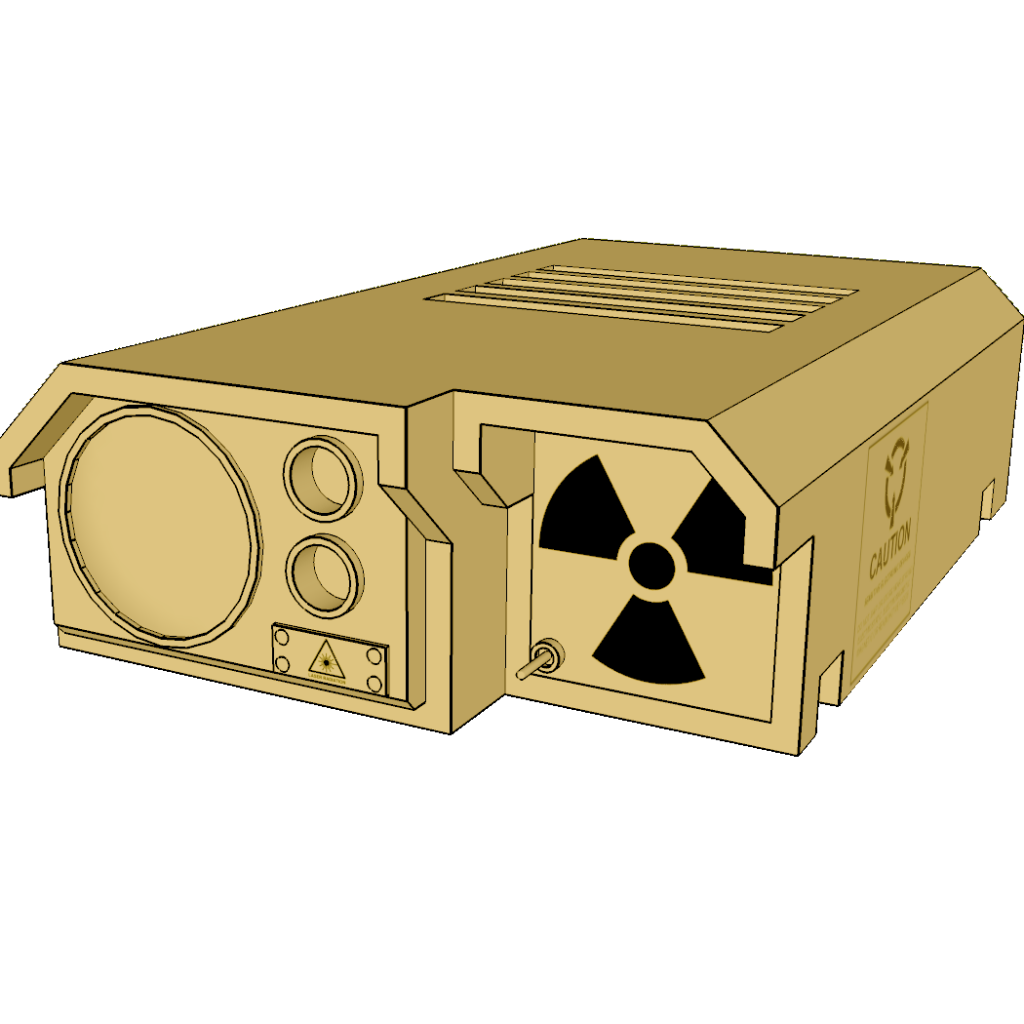
11) Last step! Simply select Image > Scale Image and set it to the desired icon size. I'm currently using 100 x 100 px:
And now you have an icon that's ready to use!
Some tips for consideration:
- Keep your final icon size in mind when designing your 3d model. It's possible to spend days making a professional model, but you'll lose 95% of that detail when you shrink it to an icon!
- Create your theme and color scheme before making finished icons. Otherwise, you'll end up fixing them all again, and again... and maybe even again.
- Save the .xcf file! Always, no exceptions! You can't edit layers once the image has been exported and flattened.
++++++++++++++++++++++++++++++++++++
Here are a few more icons I've made:


Thursday, November 29, 2012


Subscribe to:
Posts (Atom)