Now that we have the basics down, lets look at something that puts these ideas into practice, such as a space marine shoulder pad. At first glance, the shoulder pad looks simple, right? Just make a circle, then a cone and you're 50% there.
I wish it were that simple.
Let me take a moment to point out an infinitely useful tool to have if you have your heart set on miniature design: a digital caliper. This inexpensive measuring tool will certainly save your bacon on multiple occasions, and it's worth knowing how to use one.
Anyway, I digress. We need to be diligent and make certain that our shoulder pad is going to fit on the intended model. The are two surfaces we need to make a note of. The first is the outer surface. This must be small enough to fit in front of the back pack, and the top must not come into contact with the marine's head. It is also a good idea to keep track of the size so it doesn't get out of hand and look ridiculous on the model.
The second, and by far most important surface, is the inner section where the shoulder pad is glued to the arm. The angles MUST be very similar to the shoulder so that the pad makes good contact and remains in place when glued. If there is too much variation, the shoulder pad could fall off or decrease the spacing between the backpack and the outer surface.
Remember your crusty old shop teacher when he said measure twice and cut once? Measure 3 times and print once is the saying here. If you don't measure correctly, it could cause a lot of pain and hours of wasted work.
As you take measurements, make certain to write them down in clear, concise fields on a notebook. I'll probably do a section on keeping your data organized in the future. Basically, you don't want to have to go back and remeasure everything if you start on a new model.
Areas to measure:
Measure the height and width of the interior and exterior sections.
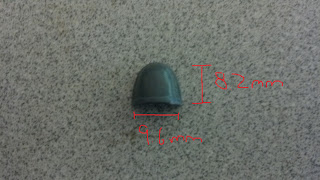
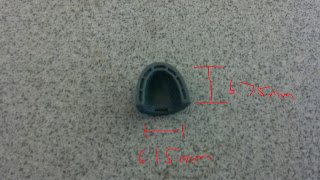
Next, take two shoulder pads and push them together so that they look like this:
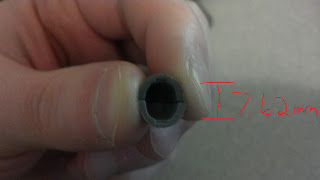
The first thing you should notice is that it is asymmetrical. That means that simply using the previous methods will not create a workable shoulder pad. For this, we have to introduce a couple new tools.
Before we do that, however, I need to make a quick comment about scaling. Make certain that everything is in Meters, not millimeters. Sketchup does not work well with small dimensions, but can very easily scaled a model in meters down to millimeters.
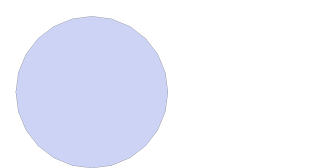
First, start by creating a circle with the Circle tool. Give it a radius of 3.075 (giving a full diameter of 6.15):

Next, use the Guide tool to make a guide in the center and a mark at 7.6m:
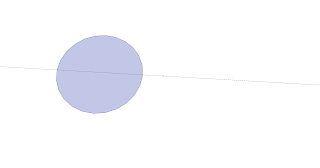

This shows how much larger the circles needs to become to form into the oval shape of the interior shoulder pad. However, we are not ready to change its size just yet. Before we can do that, we need to add height and then volume.
Make another circle inside of the first circle with the same dimensions:
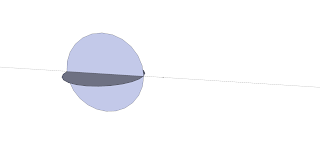
Once you have done this, mark the center portion with the Line tool to divide everything:
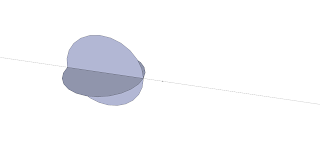

Delete the excess lines by using the Select tool and the delete button on your keyboard:
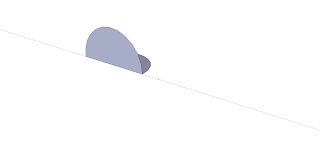
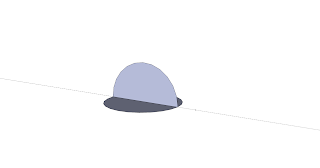
Alrighty, now it's time to make one more guide. This one will be 6.75m to the top of the shoulder:
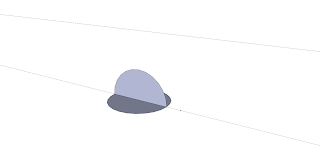
Ready to add volume? To do this, we just draw a line down the middle of the second circle to divide it in half, and then delete that half, then use the follow me tool to make a half cylinder. Don't forget to use shift to select both sides of the cirlce:
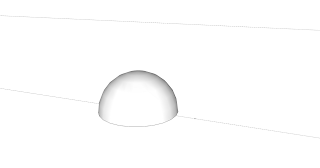
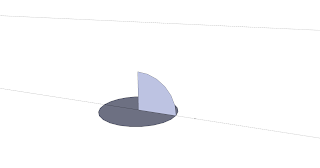
So far, so good. Now its time to stretch the model to the right proportions. Select the model with the Select tool, and then click the Scale tool. Drag the model until it touches the guides:
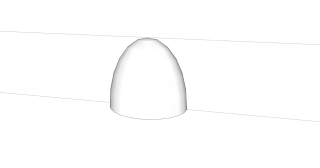
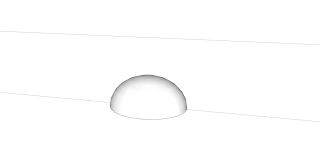

And now we are very close to having the interior completed. To do this, we need to divide the model in half, but also retain a face on the flat surface. The quickest way I've discovered to do this, is simply draw a square in the middle of the model using the Square tool:
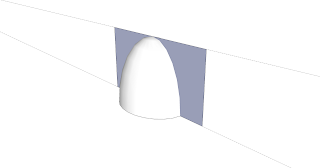

Using the guides that are already in place is the best way to keep the square perfectly centered. Once this is completed, drag select the entire model, right click on it, and select Intersect Faces > With Selection. The model will be deselected, but if you select any portion of it, you'll noticed that everything has merged. Delete the square and half of the model:
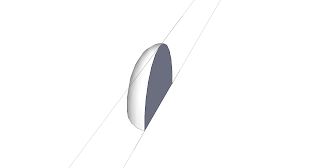
Congratulations, you now have the interior section of a shoulder pad! I recommend saving this as component. I'll cover component usage in another blog post.
We'll finish up the shoulder pad tomorrow, but see if you can do it on your own, using what you have learned so far.


