Showing posts with label sketchucation. Show all posts

Wednesday, March 14, 2012

Working with round objects part 3

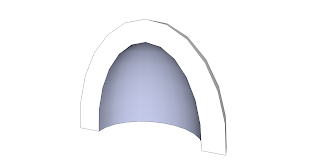
Alright, let's go ahead and wrap up this tutorial. Hopefully you've been practicing what you've learned. Bring up the interior section of the shoulder pad. Using the same techniques we learned in the last tutorial, go ahead and make the exterior of the shoulder pad using the proper dimensions (9.6x5.3).

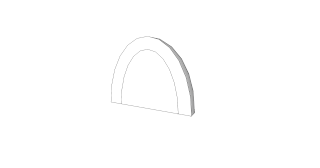
You should have something that looks like this:
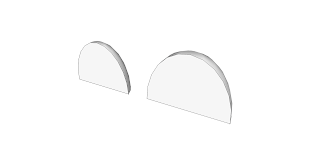


Go ahead and use the Move tool to align the interior shoulder pad with the the exterior:


Select both components with the Select tool. Right click on them and choose Explode:
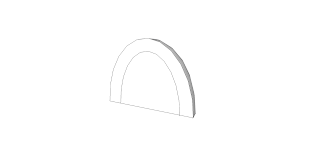


Then Right click again and select Intersect Faces > With Selection:
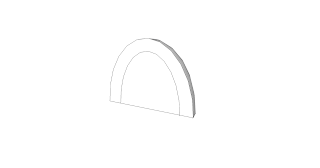


Now simply select the bottom line of the interior shoulder pad and delete it:
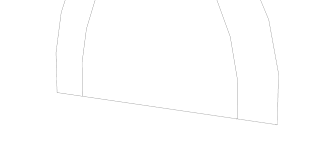


Now you have the basic outline of a shoulder pad! You can either use this as a blank, or use surface and joint push/pull tools to further edit it. If you haven't already, head over to Sketchucation and download the required plugins:

FredoLib (Required for these tools) - http://forums.sketchucation.com/viewtopic.php?t=17947
Joint Push/Pull - http://forums.sketchucation.com/viewtopic.php?t=6708
Tools on Surface - http://forums.sketchucation.com/viewtopic.php?t=11212

If you are installing these for the first time, you'll need to restart sketchup (don't forget to save your work!).

Now we can make a kind of "stock" shoulder pad to see how it looks. Use the Draw Offset Contours On Surface tool to select a patch of shoulder pad:

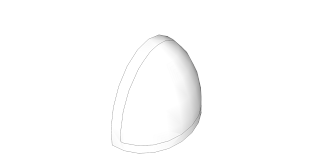


Then use the Joing Push/Pull tool to either push the shoulder pad in or drag the border out:


Here are some things to look out for-

If you push the shoulder pad in to make the size more correct to the original, it caves the top shoulder pad border. You will need to manually straighten the top section so it looks correct:
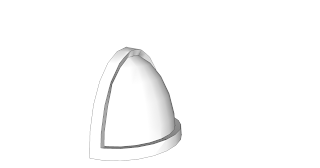


Pulling the borders out allows them to remain smoother, but increases the size of the shoulderpad and creates interior problems that have to be cleaned up:
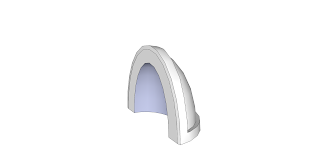


Now that you have a blank prepared, you can either create objects to attach to it, or use 3d text. Pretty neat huh?

Try playing around with the shoulder pad and see what you can do using surface tools and merging other 3d objects to the rounded surface.

Tuesday, March 6, 2012

Additional Information

People have been asking me about 3d printing and how to get started. Luckily, it's both cheap and easy to get started in 3d modeling, but there are a few things you will need.

First, you'll need a 3d modeling program. If you are new to 3d modeling, I highly recommend Google Sketchup. It's both free and very easy to learn. You can download version 8 here. Another free option is Blender, though it has a much steeper learning curve and a lot of tools that are unnecessary for 3d printing, such as lighting, rendering, animation, etc. However, it is much better at creating organic models.

Organic models are humanoid shapes, odd faces (such as hands tree trunks and the like). While Sketchup is capable of creating them, it was not meant for nor does it facilitate their creation.

You can learn more about Blender here.

Other paid options include Rhino, Maya and AutoCAD. These tend to be very expensive ($300 to $1000 dollars) and also have a bit of a learning curve. I generally recommend these to people who have spent time with Sketchup to learn the basics and decide if you want to continue working with 3d models before dropping a large sum of cash.

Second, you will need plugins. Sketchup can export to .dae, which 3d printing natively supports. However, there are a number of tools that will make your life much easier, especially when working with rounded surfaces.

You can begin by registering at Sketchucation. This is fast and free, and allows you to download several powerful tools. Once you've registered, click on Plugins Index to view the available plugins.

I know, it's a lot to take in at first. Don't worry, there are only a few you need to start with.

A lot of plugins rely on the Fredo library, so make certain to install that first.

Solid Inspecter to check for problems that will prevent 3d printing.

An additional list of very powerful tools can be found here (make certain to sign in so you can see the animations describing how the tools work).

To install the plugins, simply unzip the contents to your sketchup/plugins folder. This is typically found at C:\Program Files (x86)\Google\Google SketchUp 8.

Make certain Sketchup isn't running when you install the plugins. If it is, don't sweat it, just restart Sketchup and you should be good to go. Your plugin folder should look something like this:


Now that your plugins are all installed, you're ready to start modeling! Tune in tomorrow. I'll be posting the do's and don'ts of modeling for 3d printers.