This is a quick tutorial on how to make 2d art assets, such as icons, from 3d objects. For this tutorial, I will be using Sketchup and GIMP. Both of these programs are free and available on multiple operating systems, so anyone is able to get started.
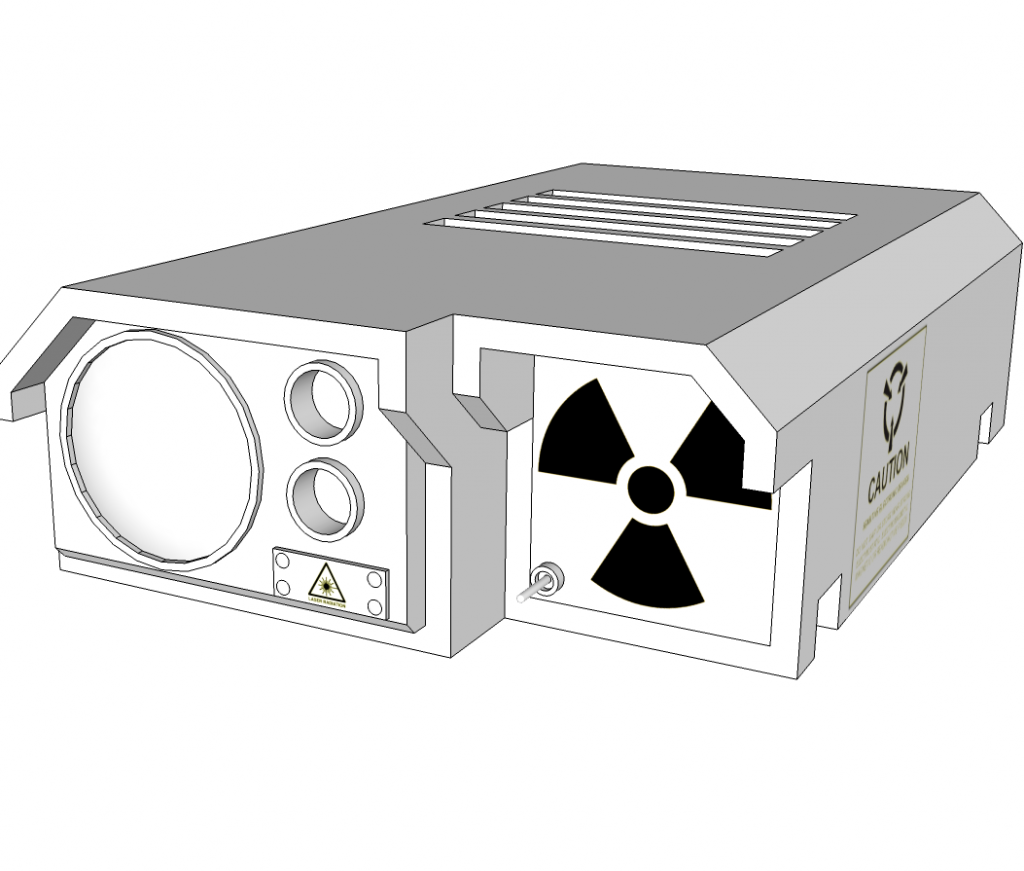
1) Build the 3d model (this is beyond the scope of this tutorial because it is a very extensive subject. I do have information about it in older posts, and will most certainly continue to do so in future posts as well. Your finished model might look something like this:
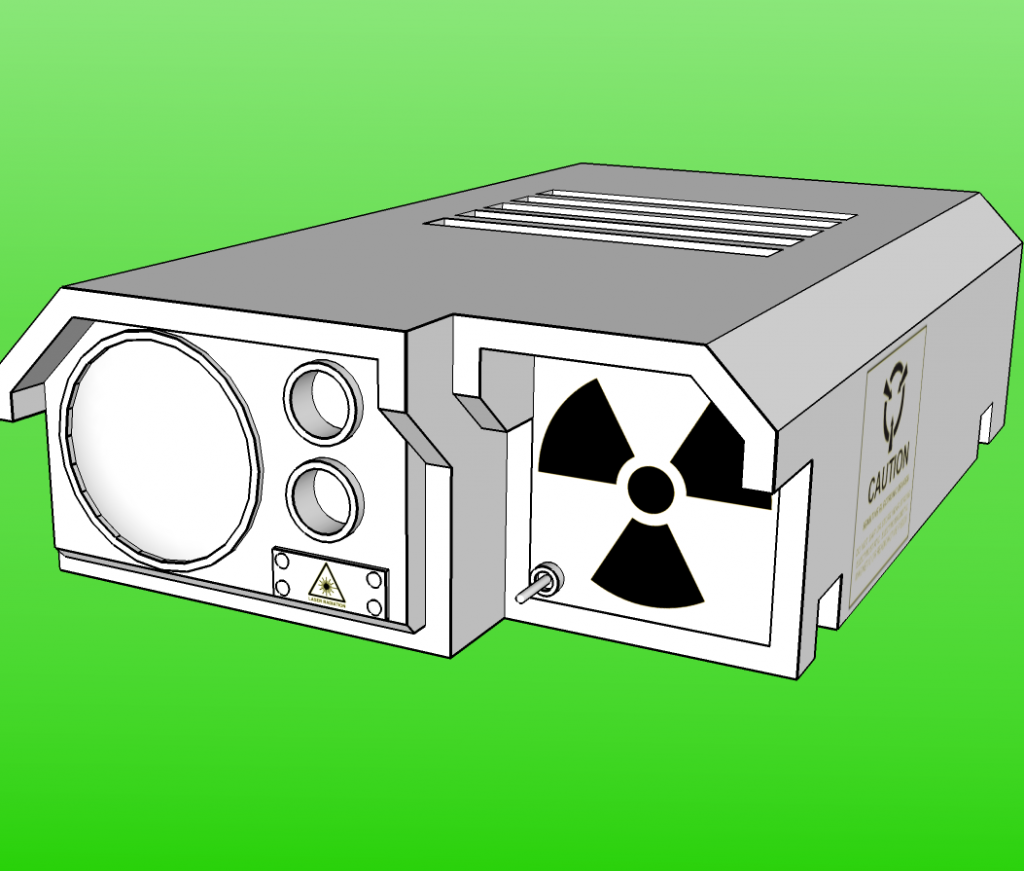
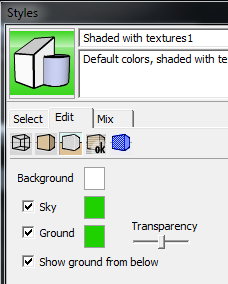
2) Make certain that View > Shadows is checked and fill the background with a bright color that will not be in your model. I use green (just like a green screen for movies). You can do this by going to Window > Styles and then making a new style. Go to the Background tab and check the Sky and Ground box, then set the colors for them.
And it show now look like this:
3) You need to export it to an image file so that GIMP can understand it. Sketchup also runs a very very basic rendering operation. It's basically applying anti-aliasing and smoothing to the image.
File > Export > 2d Graphic
Make certain to save it as a .png file.
4) Now, load it into GIMP and select the Select By Color tool from the toolbox. Select the green (you may have to select multiple sections to get all of it by holding the shift key) and delete the color completely. This will result in some left over residue:
Simply repeat step 4 on all the green pixels until they are gone.
5) Now use the fuzzy select tool to select all of the dead space, similar to how you selected the green in step 4.
When you have all the dead space selected, go to Select > Invert Selection. This will select your entire object without singling out dead space, color, etc.
6) Icons should always be a factor of 2 and square. That means you can always divide the pixel dimensions by 2 and the height and width are the same value. This means we need a canvas that fits these requirements.
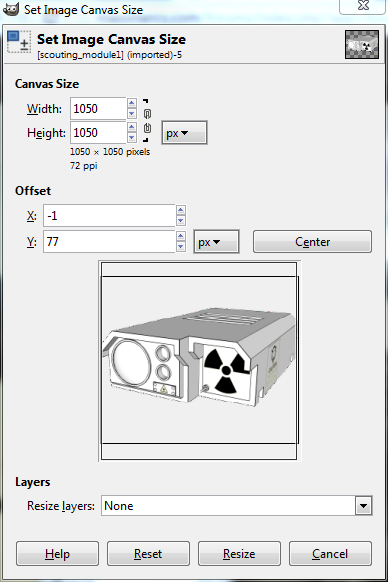
Select Image > Canvas Size... from the top menu and change the dimensions to the nearest even number (you'll want to use the higher number if you have a rectangle). Note: Make certain the chain on the right side is broken! Otherwise, you will be forced to scale in the same ratio.
Make certain you press the Center button! Then press Resize.
7) Now we have the proper dimensions. In the layers window, right click and select Add New Layer twice. Name the first one Shading and the second one Lines. You should now have layers that look like this:
8) Select the bottom layer (it should have your image name or Background) and select all the dead space. Invert the selection just like step 5 (Select > Invert Selection). You should now have only the image selected.
Select the Shading layer by clicking on it and then click the Bucket Fill tool and select your desired color. I'm going to use one similar to the MWO theme.
Set the Opacity to 50% and then click in the selected area in the main screen:
9) Now, this is good, but you'll notice the details are muffled, specifically the lines. So now we click on the Color Select tool again and make certain the bottom most layer is selected. Click on a black line anywhere in the image to select all black lines in the image.
10) Modify the Bucket Fill options so that Opacity is 100% and the color is Black.
Then select the Lines layer by clicking on it. Now that it is in focus, hold the Shift Key and click inside your selection. Your image should now have much crisper detail:
11) Last step! Simply select Image > Scale Image and set it to the desired icon size. I'm currently using 100 x 100 px:
And now you have an icon that's ready to use!
Some tips for consideration:
- Keep your final icon size in mind when designing your 3d model. It's possible to spend days making a professional model, but you'll lose 95% of that detail when you shrink it to an icon!
- Create your theme and color scheme before making finished icons. Otherwise, you'll end up fixing them all again, and again... and maybe even again.
- Save the .xcf file! Always, no exceptions! You can't edit layers once the image has been exported and flattened.
++++++++++++++++++++++++++++++++++++
Here are a few more icons I've made:




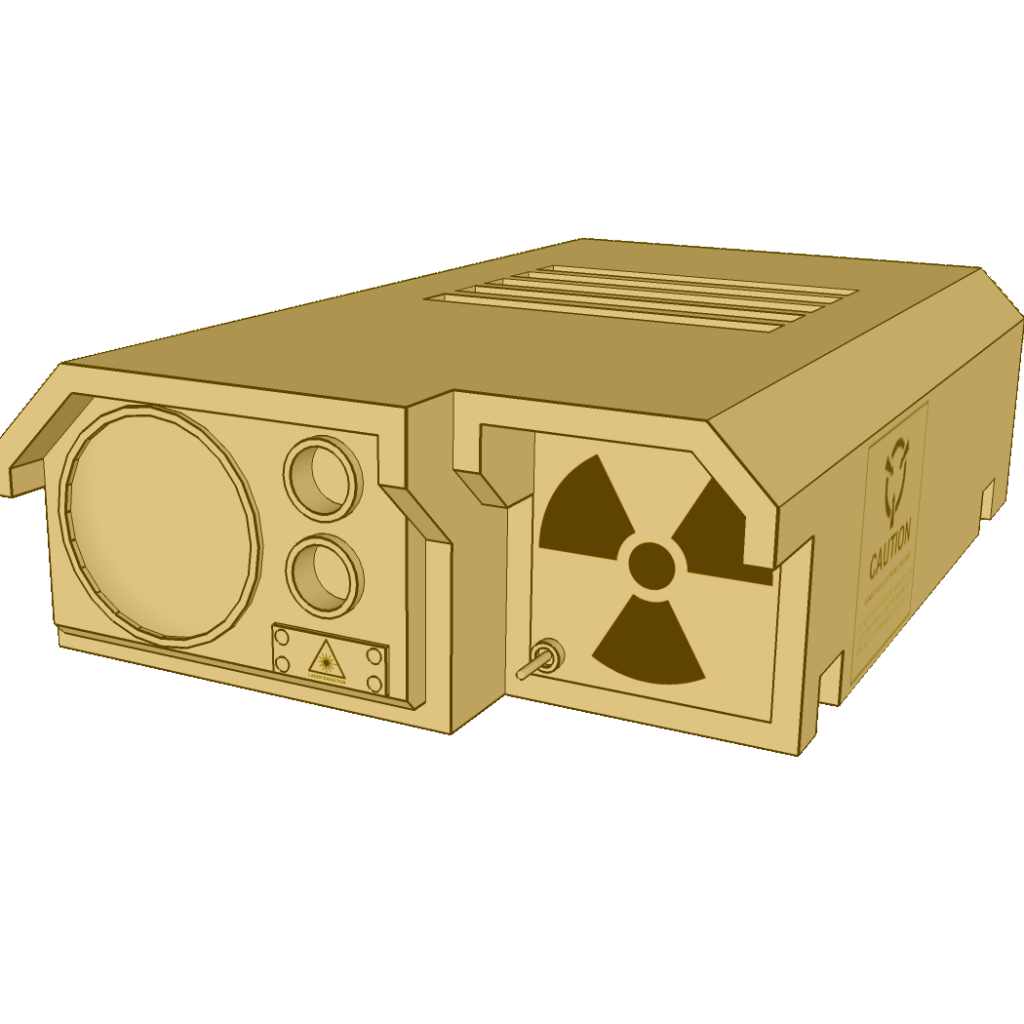

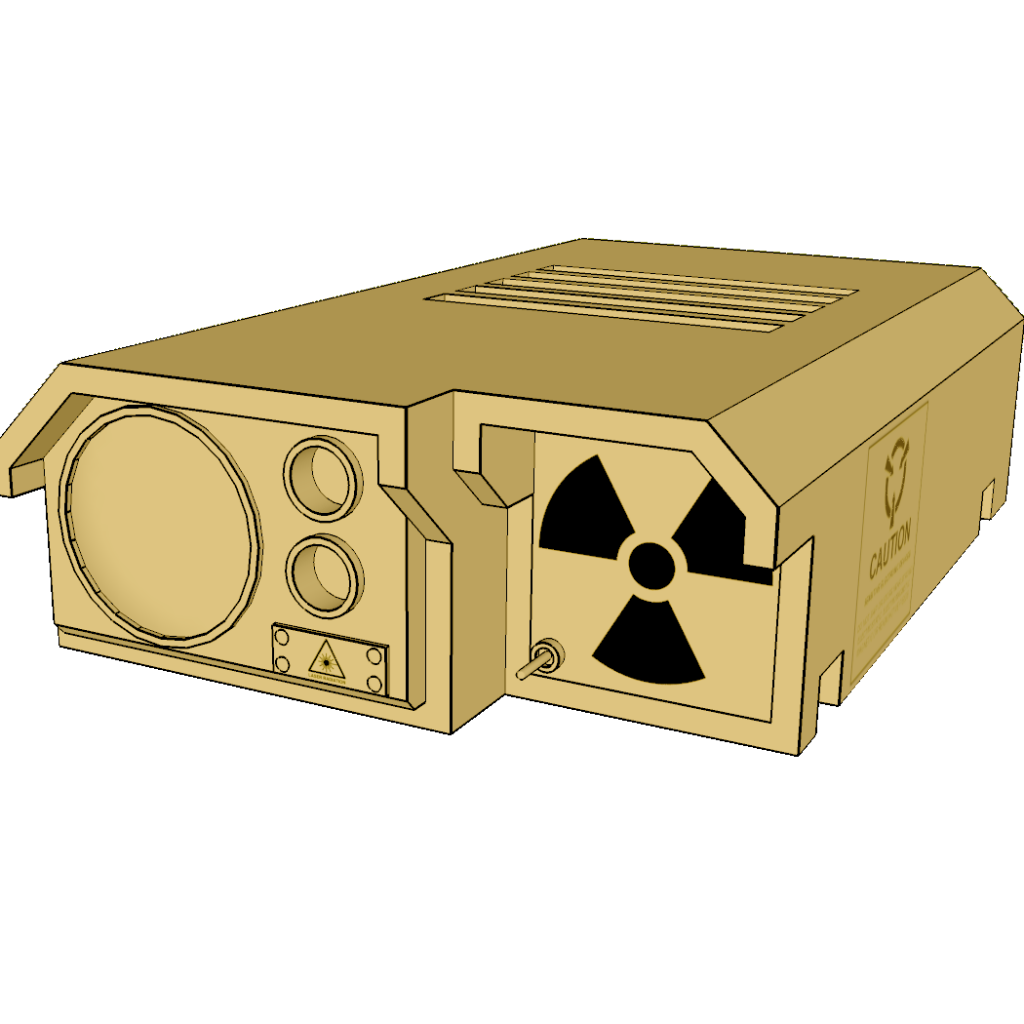


Hey Stephen,
ReplyDeleteGreat write up.
Here's a plugin that will let you export a transparent background in Windows, saving you all the cleanup in Gimp: http://sketchucation.com/forums/viewtopic.php?t=30819
Mac users can export transparent background, even without the plugin.
One other thing that may or may not hep your workflow - save a scene with your camera settings, then export both a color image and a wireframe image from Sketchup, using the same resolution for both. Then you can overlay the lines in Gimp, so you don't have to try selecting them there.
Cheers,
Marcus
Thanks for reading :)
DeleteI haven't discussed scenes on here yet, but I always use at least one to keep the size and perspective the same. Wire frame won't highlight some of the textures and perspective lines the way I want it to, which is why I use this procedure.
I'll check out the GIMP plugin. I use this method because GIMP can't tell the difference between the background and white portions of the model. If the plugin can do this, then it will save me a bit of time.
I should also mention that scenes can speed up game development, as you can snap shots of the perspective for icons, and then multiple sides for either sprite creation or for a top down/side scroll game.
DeleteI wasn't clear...the plugin is for Sketchup.
DeleteCheers
Ah, thanks. Yes, that does indeed expedite the process considerably.
DeleteGood find and thanks for sharing :)